Factorio Blueprints Version 2 (Old)
Overview
I have new versions of these blueprints in active development, check them out over in the new Blueprints page!
These blueprints were all made before space age came out. So I can't promise they are all up to date with the current version of Factorio (though many of them still work well). Updated blueprints will be coming (very) soon.
All of the blueprint include roboports, even early game ones where you wouldn't have roboports yet. I find it's easier to plan ahead then try to wedge in roboports later.
Inserters with filters are included in the blueprints only to indicate where resources should be sent in (you do not need to actually build the inserters).
Passive provider chests are used in all blueprints with chests, even if the blueprint is something you'd need to make early game (when you wouldn't have any passive provider chests). The reasoning for this is simple: if you are placing the blueprint manually, you can just put down a different box, but if robots are placing it down then you should already have a passive provider chest. Also, in just about every case, if you place down a different box early in the game, you'll want to eventually replace it with a passive provider chest.
Most of the blueprints have efficiency module 1s in them. This seems like a simple thing to throw in that has very little downside.
Power
Solar Panel Block with Walkway
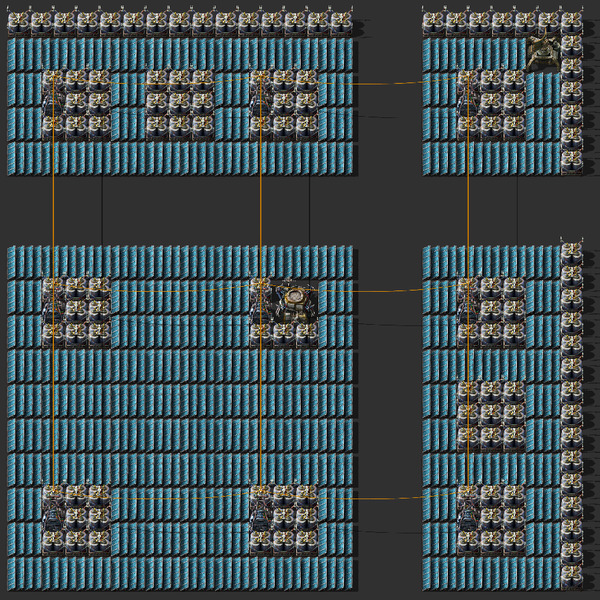
A tileable solar panel block with a built-in walkway (or, driveway, I suppose). The ratio is as close to the ideal .84 as possible without wasting space.
Blueprint
Solar Panel Block
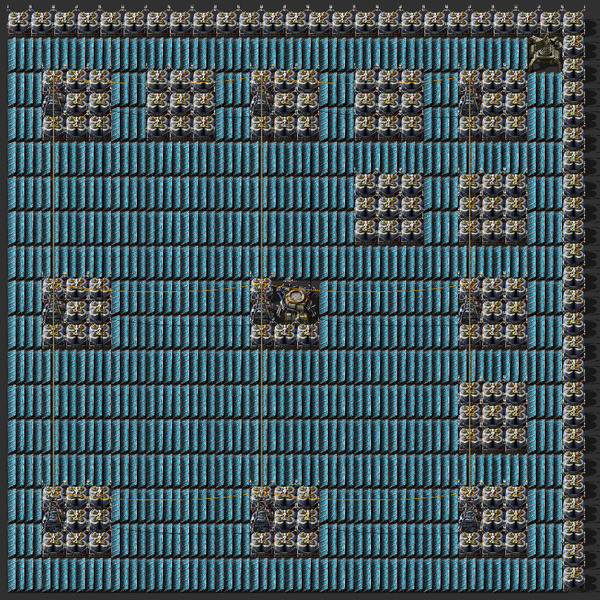
Maximum density. Minimum ... uh ... walkity.
Blueprint
Solar Panel Block for Trains
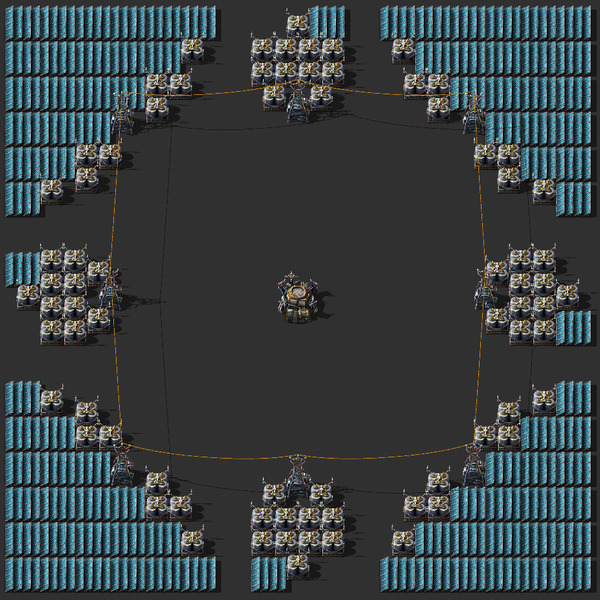
This block can fit on top of most of the normal (not-angled) train blueprint blocks. So you can slap it over top of any of them for a somewhat space-efficient use of train track area.
Blueprint
Solar Panel Block for Trains, Angled
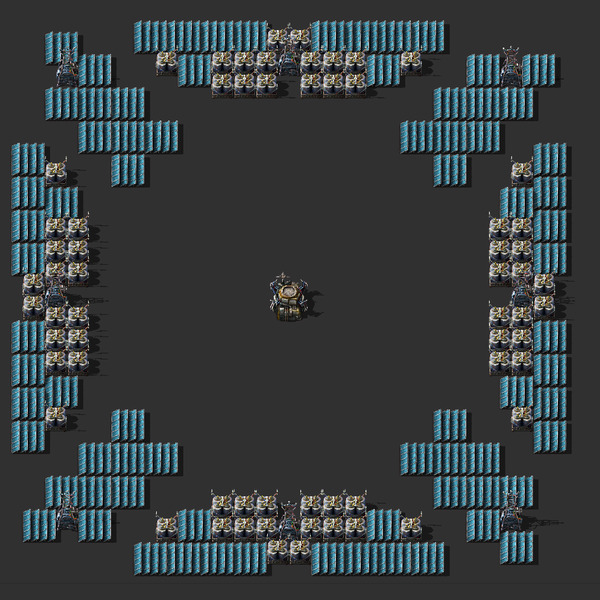
This block can fit on top of the train angled blueprint blocks.
Blueprint
Nuclear Reactors
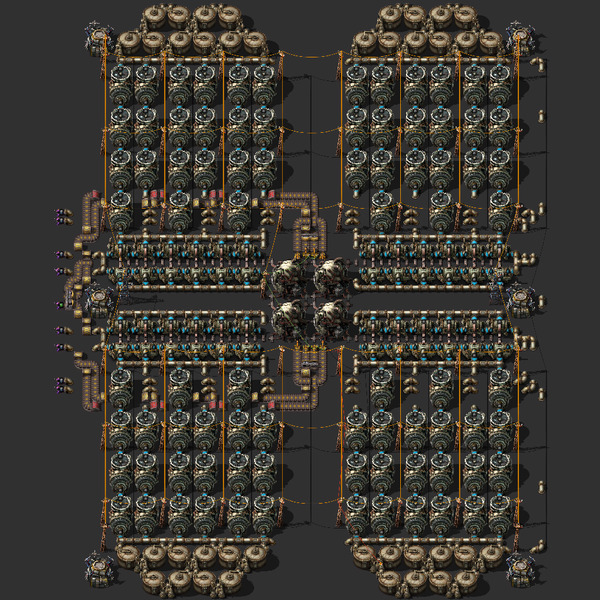
This will produce a lot of power while being designed not to waste fuel cells. You can place one fuel cell in the bottom right reactor to start it up (or one in each should be fine, too). More fuel cells will only be added when the stored power gets low enough. This requires 8 pipes of water even though you can theoretically use only five, but, hey, water is cheap.
Blueprint
Miscellaneous
Robot Extension
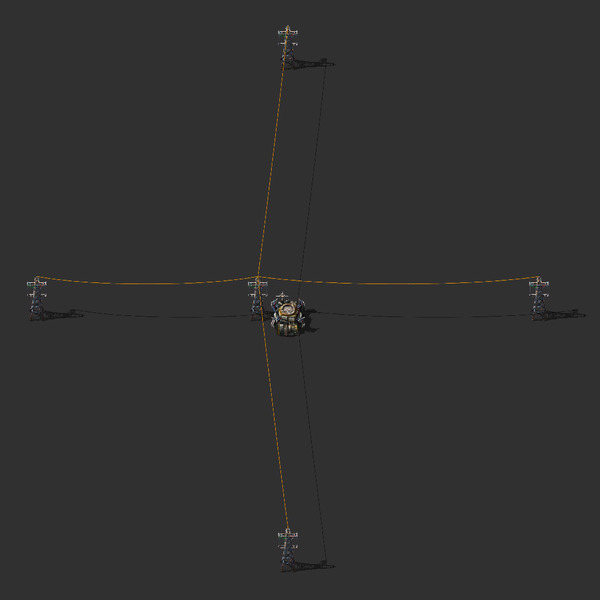
You can use this to easily extend your robot network. The four extending powerpolls should overlap with other robot extensions so it's easy to line up correctly.
Blueprint
Mining
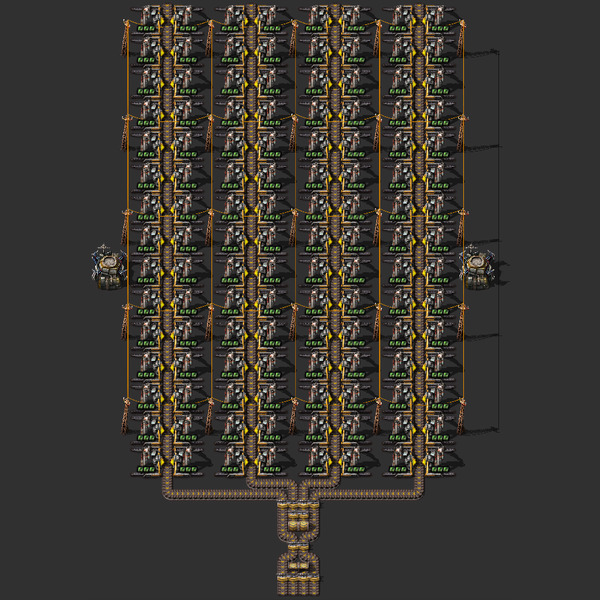
A bunch of different sized mining blueprints I find useful. One of these should cover just about any mining field. There are robotports built in. There are also belt balancers, all outputting 4 belts (this works well with my train solid load blueprints which assume 4 belts in).
30x4 Miners, Yellow Out
30x5 Miners, Red Out
30x6 Miners, Red Out
30x7 Miners, Red Out
30x8 Miners, Red Out
60x4 Miners, Red Out
60x5 Miners, Red Out
60x6 Miners, Red Out
60x7 Miners, Red Out
60x8 Miners, Red Out
60x5 Miners, Blue Out
60x6 Miners, Blue Out
60x7 Miners, Blue Out
60x8 Miners, Blue Out
Resources
Stone Smelter
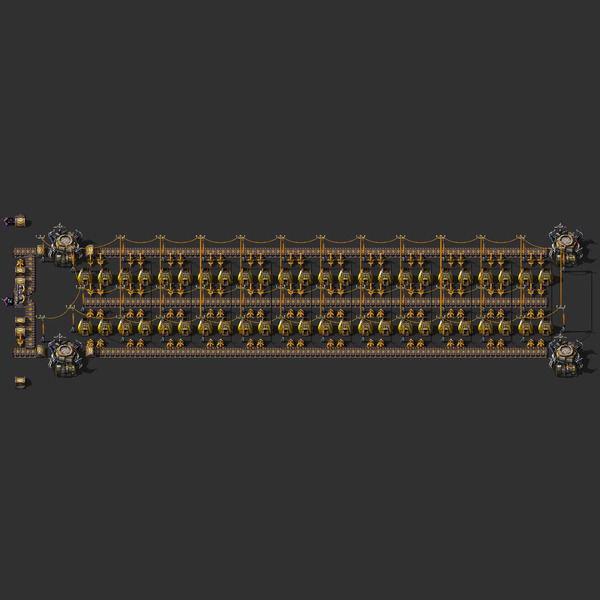
This will smelt a full yellow belt and can be easily tiled vertically. You can choose between the coal line going up, going down, or being fed by a box (for very early game). You can also choose between input and output being on the same side or different sides.
Coal from above, output/input opposite sides
Coal from above, output/input same side
Coal from below, output/input opposite sides
Coal from below, output/input same side
Box-fed coal, output/input opposite sides
Box-fed coal, output/input same side
Steel Smelter
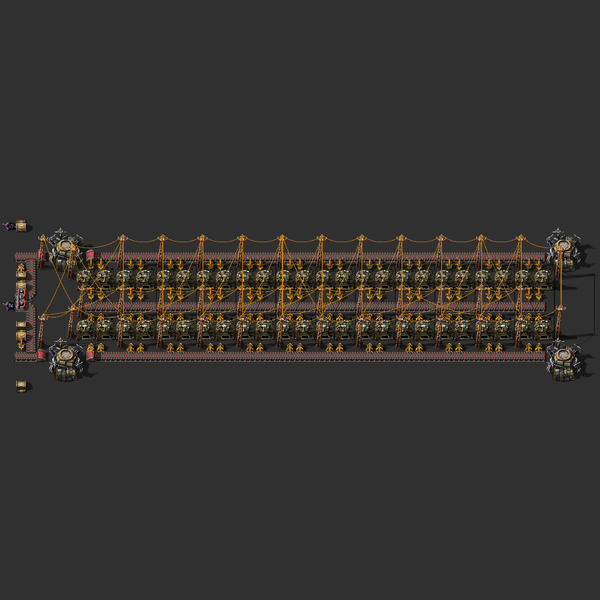
This is just like the yellow belt / stone smelter, but now with MOAR OUTPUTZ! It's pretty easy to upgrade the stone version to this in-place.
Coal from above, output/input opposite sides
Coal from above, output/input same side
Coal from below, output/input opposite sides
Coal from below, output/input same side
Electric Smelter
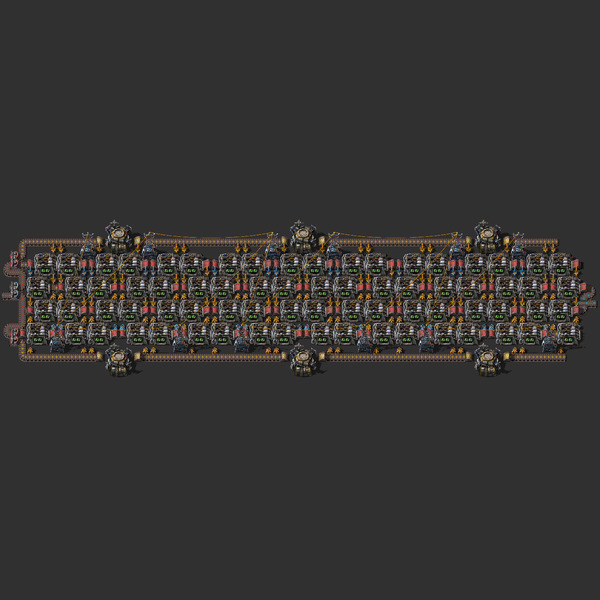
Smelts a full yellow, red, or blue belt using electric furnaces, with the option to have the input on the same side or opposite sides.
Yellow belt, output/input opposite sides
Yellow belt, output/input same side
Red belt, output/input opposite sides
Red belt, output/input same side
Blue belt, output/input opposite sides
Blue belt, output/input same side
Late-Game Beaconed Electric Smelter
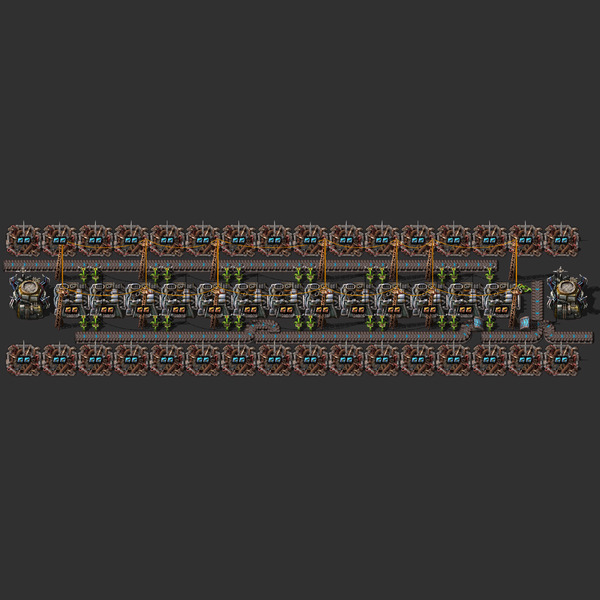
This uses productivity modules and beacons with speed modules to smelt a full blue belt without consuming the full belt of resources and with only 13 furnaces. Because modules are _just that good_!
Output/input opposite sides
Output/input same side
Basic Oil Processing
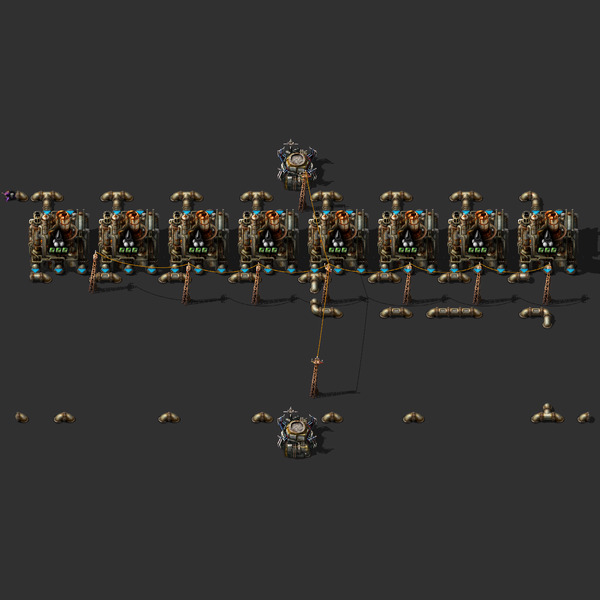
This will do basic oil processing. It's a bit weird space-wise because it's designed to be upgraded to the "Advanced Oil Processing" blueprint below.
Blueprint
Advanced Oil Processing
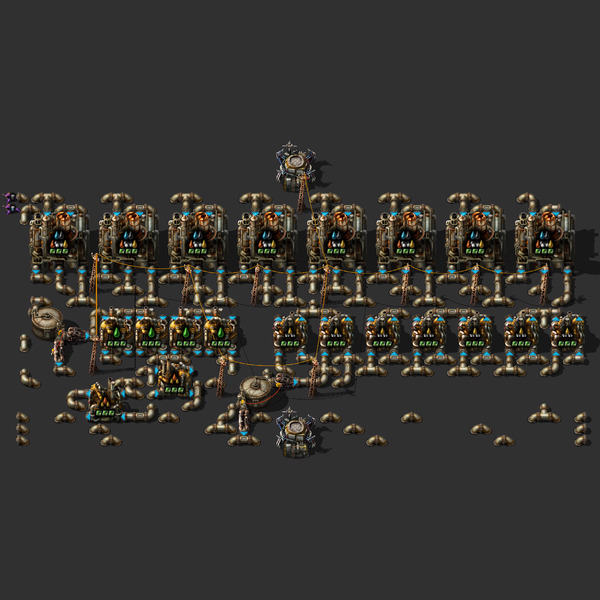
This output petroleum, light oil, and lubricant. If the lubricant backs up then so will the heavy oil, and if the heavy oil backs up the excess will be sent to light oil cracking. Likewise, the light oil backs up, it will be converted to petroleum. If the petroleum backs up--well then you're in good shape, eh?
Blueprint
Coal Liquefaction
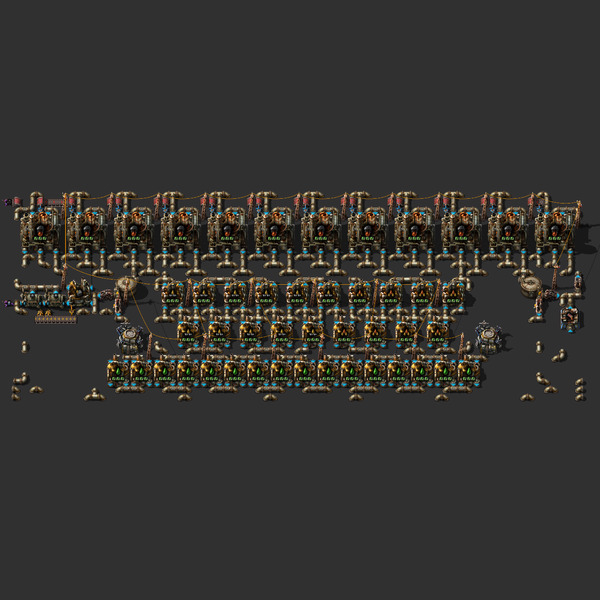
Make that coal into precious oil! Ouputs petroleum, light oil, and lubricant. You'll need to kick start the steam producing with a few pieces of coal or solid fuel. You'll also have the kick start the heavy oil with a few barrels--you can dump them into the assembling machine and, once everything is going, you can remove the assembline machine.
Blueprint
Solid Fuel
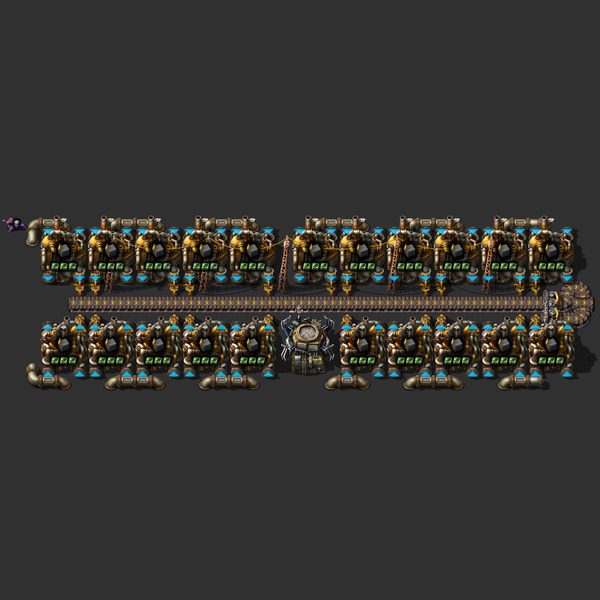
This might look like an odd number of chemical plants (21), but that's because it's designed to completely consume light oil from the advanced oil blueprint.
Through
In-Out
Rocket Fuel
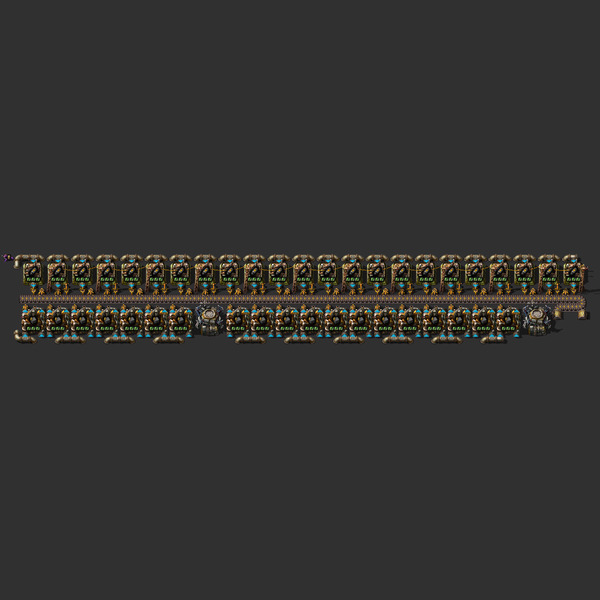
Rocket fuel. Similar to the solid fuel, this is designed to fully-consume the light oil output of the advanced oil processing blueprint.
AM2 Through
AM2 In-Out
AM3 Through
AM3 In-Out
Uranium Processing
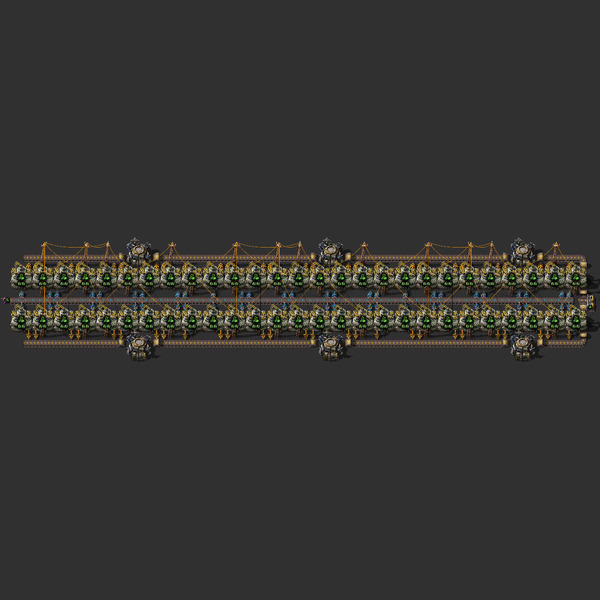
Consumes either a yellow, red, or blue belt of uranium ore and outputs uranium-235 and uranium-238.
Through Yellow Belt
In-Out Yellow Belt
Through Red Belt
In-Out Red Belt
Through Blue Belt
In-Out Blue Belt
Nuclear Fuel
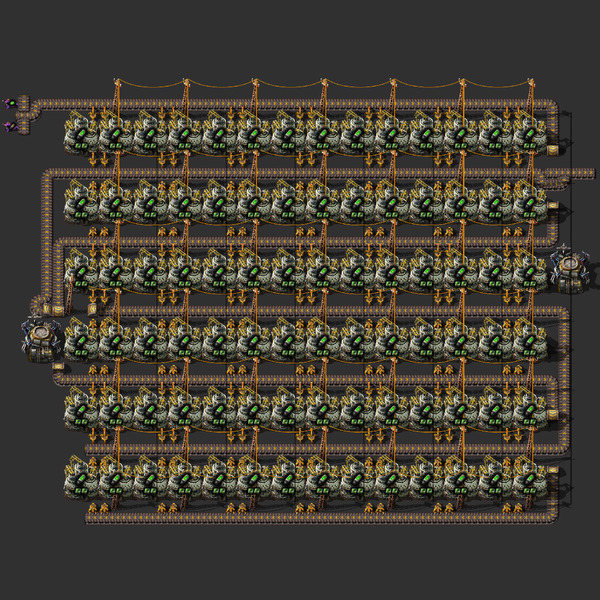
This will consume all of the output of the "Rocket Fuel" blueprint and convert it into nuclear fuel ... assuming you can provide the uranium-235!
Through
In-Out
Kovarex Enrichment
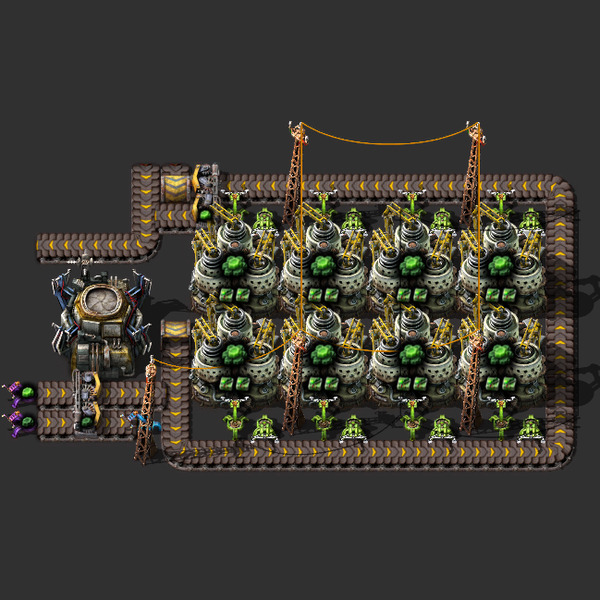
I hate this blueprint. It works almost by accident and it doesn't scale up well. But even though I hate it, you should probably use it first before the other one below. It does a surprisingly good job of getting Kovarex enrichment going without too much waste. But as you expand it some of the centrifuges will end up needing to get to 80 uranium-235 in waiting before they start outputting.
Blueprint
Kovarex Enrichment
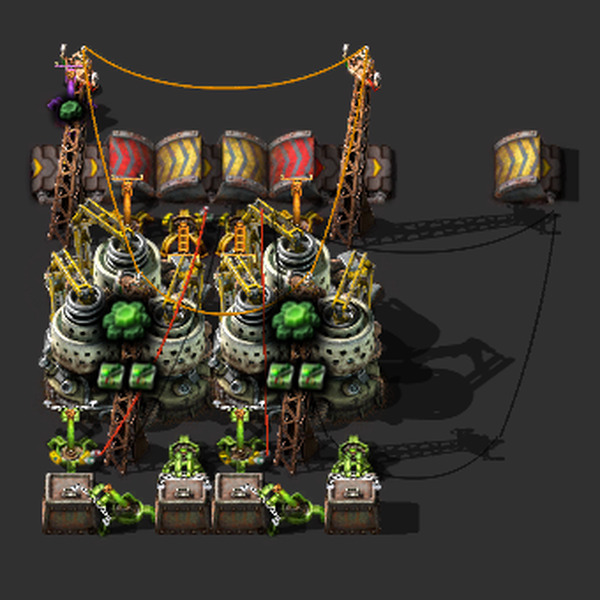
This is better than the other kovarex enchriment blueprint. It's compact, efficient, and can tile forever. You could also beacon it easily (but don't put productivity modules in! they won't work!). BUT you have to manually feed in the first 40 uranium-235 to every centrifuge. So the other blueprint might be better to use early as it's a bit more set-it-and-forget-it.
Blueprint
Trains
Train Segment
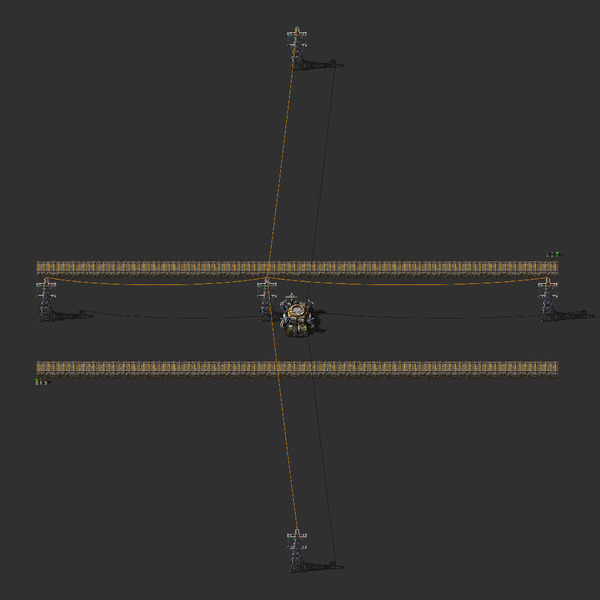
A simple tile-able train segment.
Blueprint
Train Turn Segment
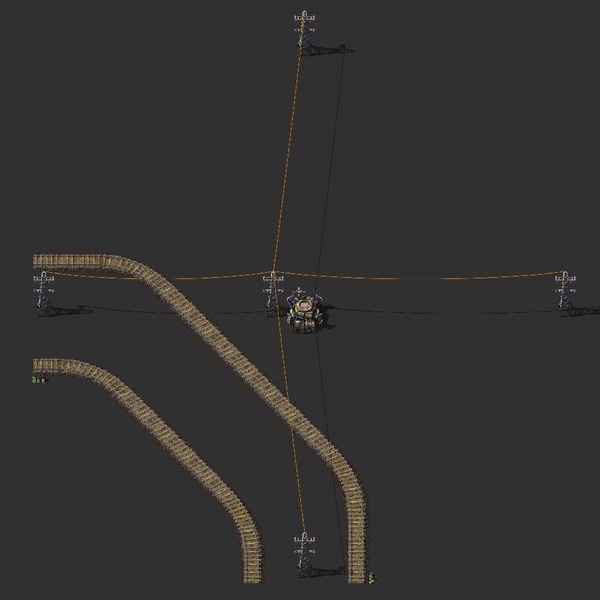
Makes the trains go different ways. Choo choo.
Blueprint
Train U-Turn Segment
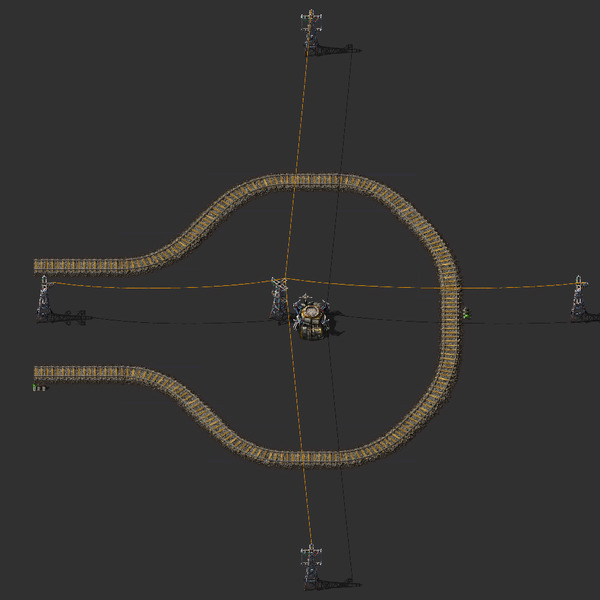
Sometimes a train is like, "Meh, I don't even want to go this way, I want to go the other way." So like, this like, does that.
Blueprint
Diagonal Train Segment
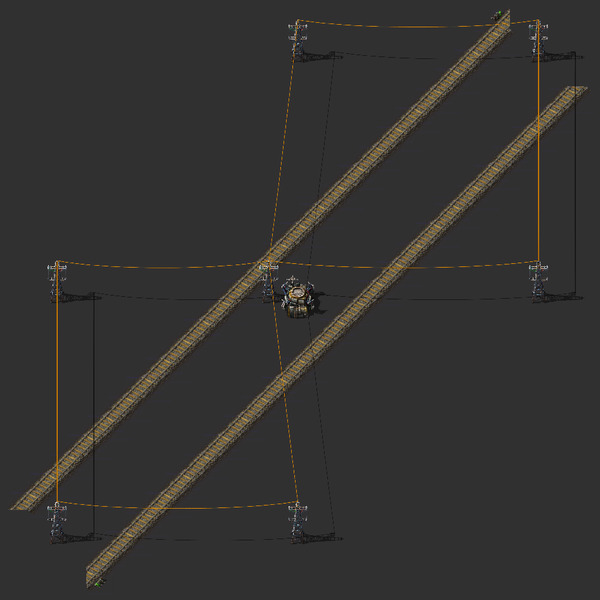
A simple, tile-able train segment that goes diagonally.
Blueprint
Diagonal Train Turn Segment
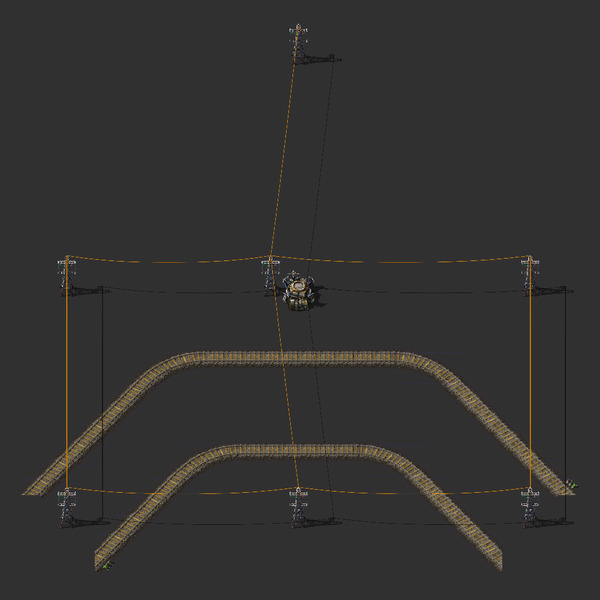
Diagonal trains need to turn, too.
Blueprint
Diagonal Train U-Turn Segment
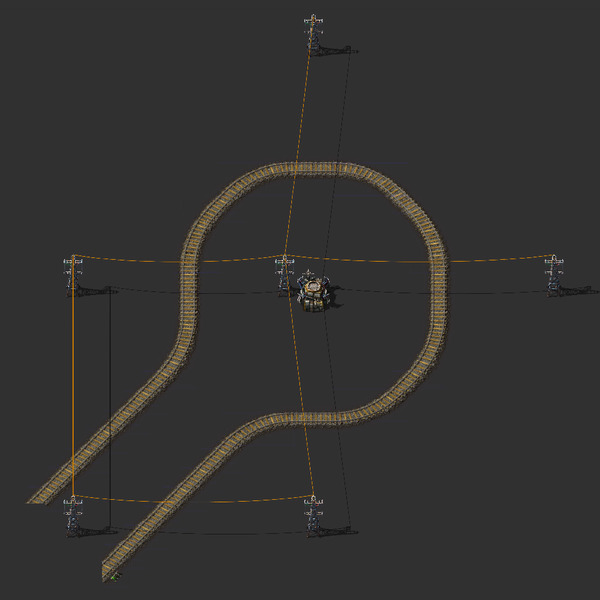
If a train going diagonally turns around, it's still going diagonally. So the opposite of diagonal is diagonal! Who knew?
Blueprint
Straight-to-Diagonal Segment 1
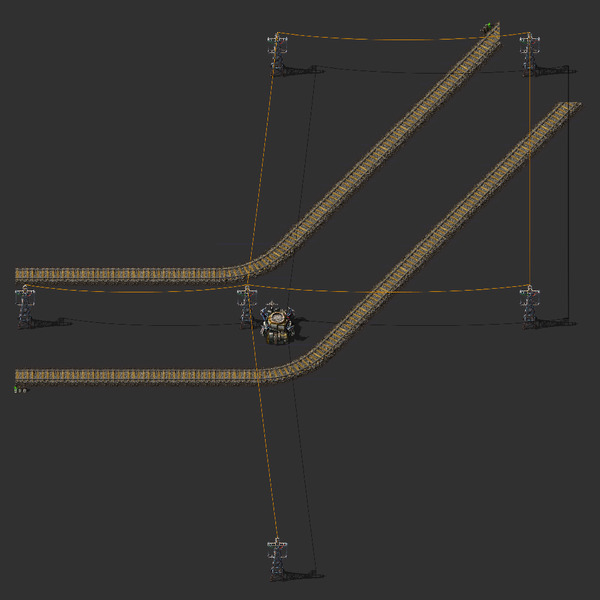
This can be used to go from a straight train segment to a diagonal one.
Blueprint
Straight to Diagonal Segment 2
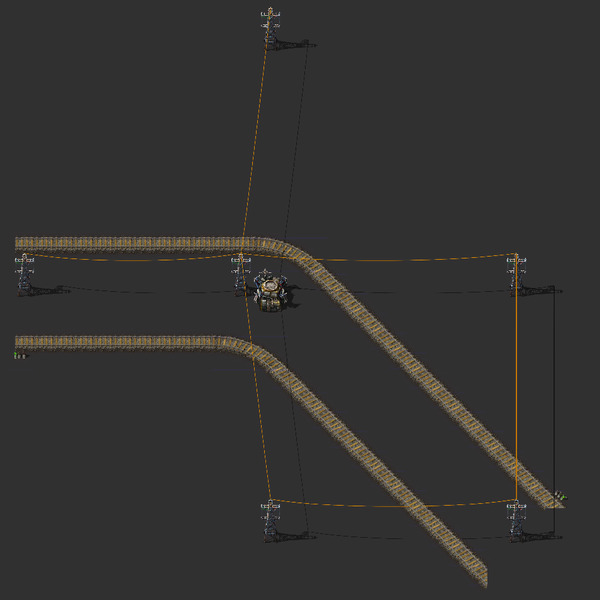
This can be used to go from a straight train segment to a diagonal one.
Blueprint
Train Waiting Area
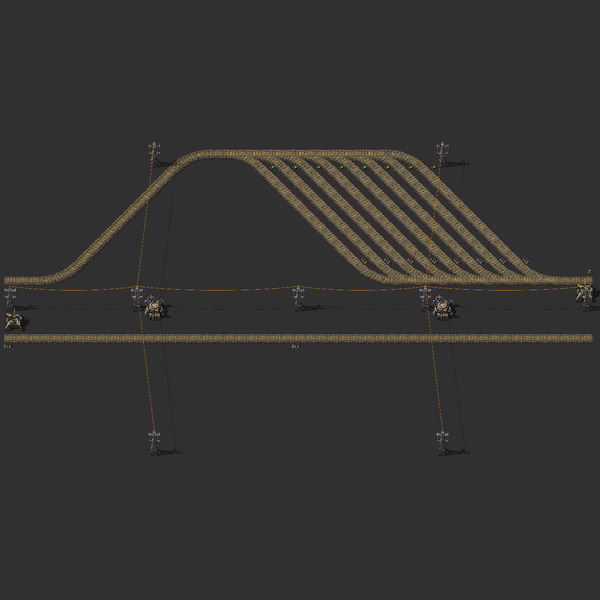
You can put this in front of a busy stop or depot to give trains somewhere to wait. It's not the most space-efficient version of this but it tiles well with the other blueprints.
Blueprint
Train Intersections
Train Crossing
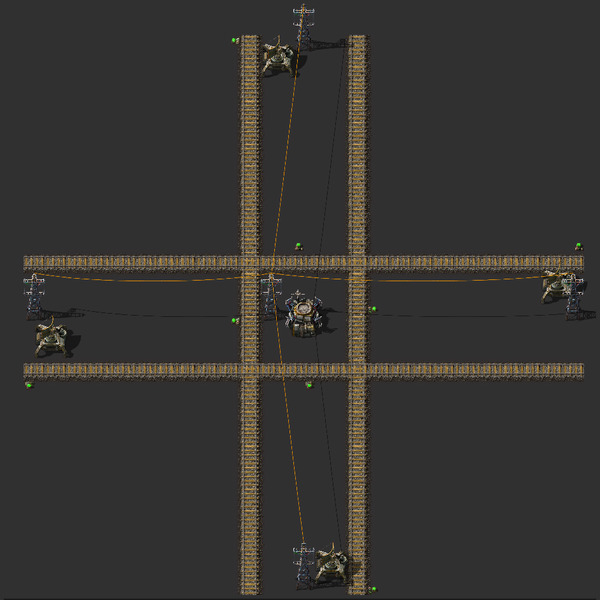
This uses rail chain signals to keep things reasonably efficient without deadlocking. Radars are also included because intersections seem like a good place to include them, I guess.
Blueprint
Train 4-Way Intersection
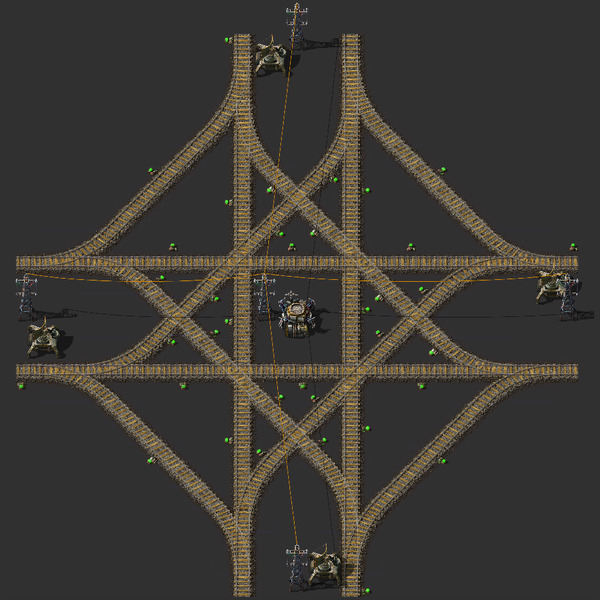
Again, chain signals are used to keep things fairly efficient. Also, the intersection blueprints are designed such that if you tile them next to each other, trains will wait until they can go through the entirety of all intersections before entering the first one, which should help with deadlocks and such.
Blueprint
Train T Intersection
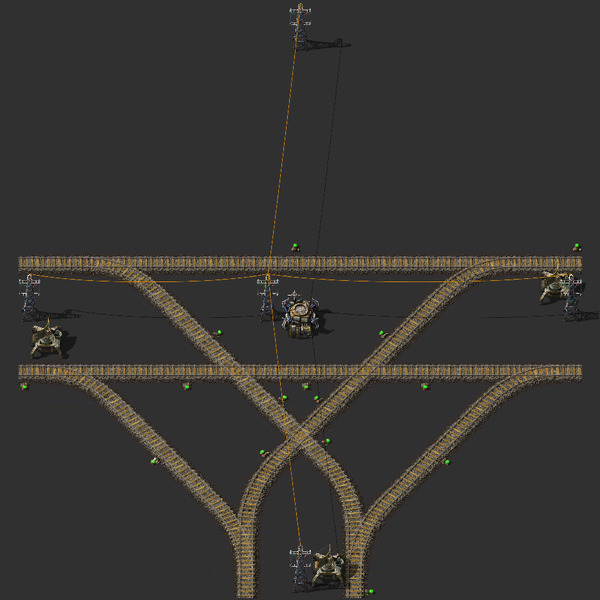
Here, your happy train-going residents can take a break to have some tea, maybe some biscuits--oh hold up it's T not tea my bad.
Blueprint
Diagonal Train Crossing
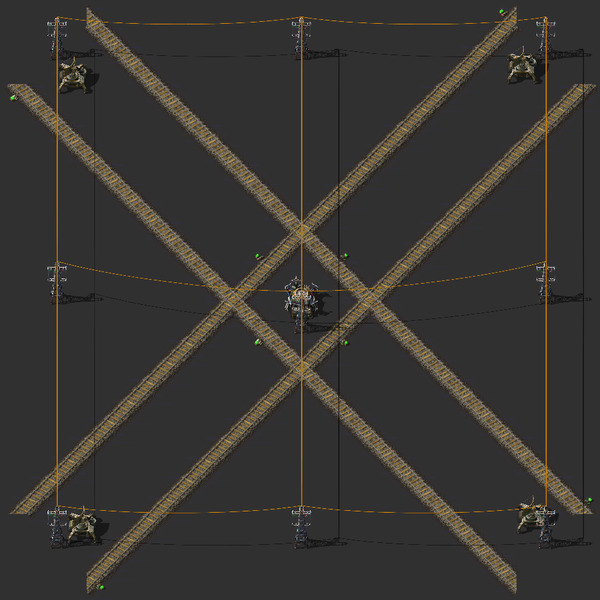
Don't cross these trains! Oh wait. Do. Do cross these trains. It's okay, the intersection will take care of it.
Blueprint
Diagonal Train 4-Way Intersection
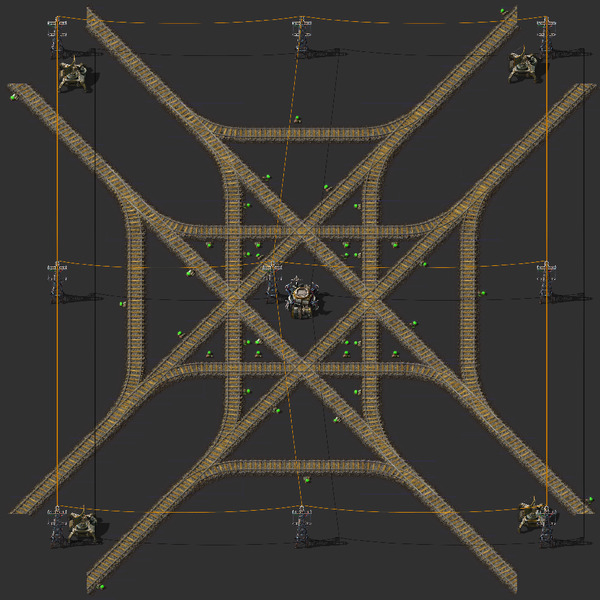
Can we just take a moment to acknowledge how pretty this is? I mean, it's pretty. Real pretty. I took great pains to make it so you could rotate it any way and it would still be the same (except for that power poll in the middle that will rotate around the roboport). But you probably didn't even notice that, did you? I worked so hard on it! But you'll never know! You probably aren't even reading this! I'm talking to myself on the internet and it's sad but also dang that intersection is pretty, amiright?
Blueprint
Diagonal Train 3-Way Intersection
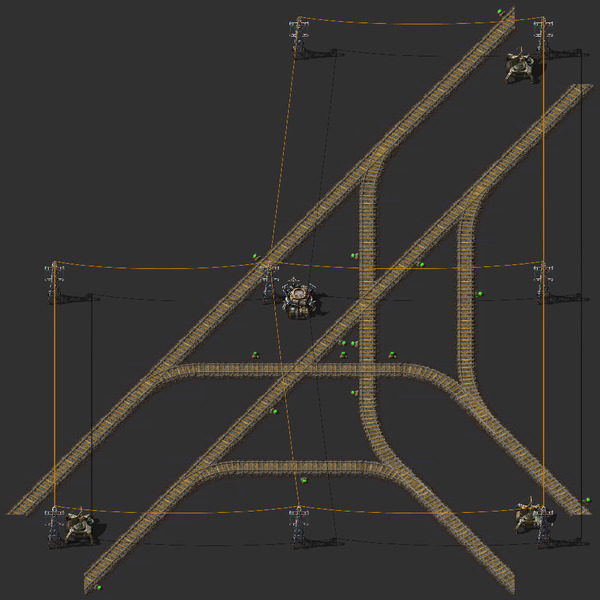
For when you want an intersection but you have an irrational fear of even numbers like 4.
Blueprint
Train Y Intersection 1
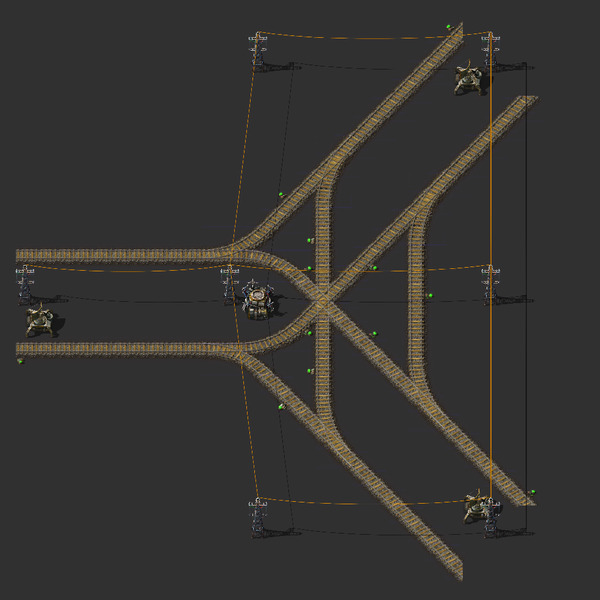
Like the T intersection except it goes between two diagonal segments and a straight segment.
Blueprint
Train Y Intersection 2
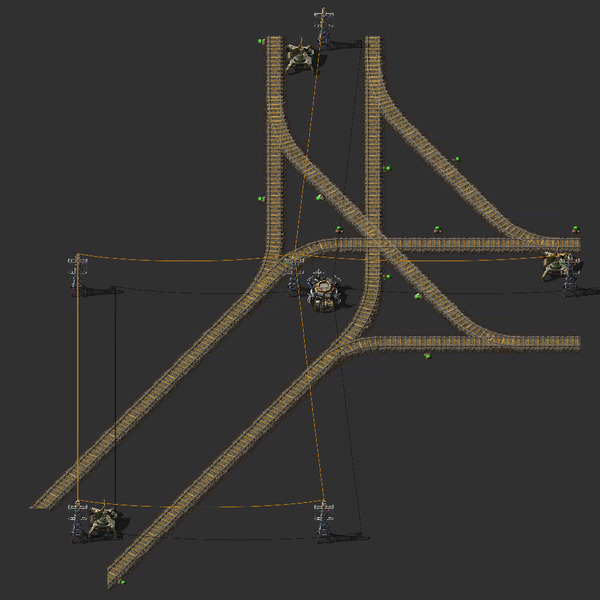
Like the T intersection except it goes between two straight segments and a diagonal segment.
Blueprint
Train Stops
Train Stop
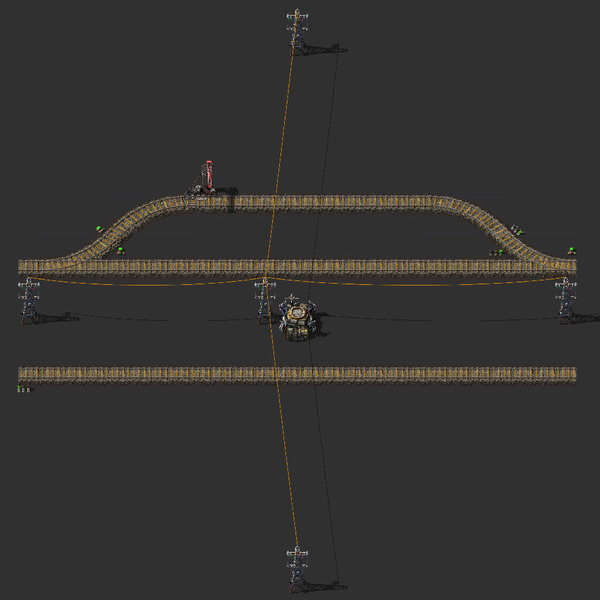
This supports a train sized with one engine and two cars. Actually all of my blueprints kind of assume that. If you're just finding this out and you're like, "Oh no! I use bigger trains these blueprints are useless to me!" then I'm very sorry.
Blueprint
Two-Sided Train Stop
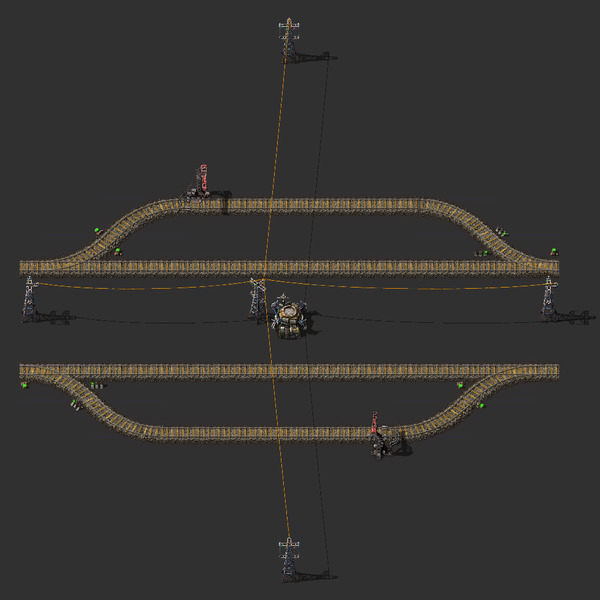
The same as the train stop, but on both sides.
Blueprint
Train Stop With Waiting Area
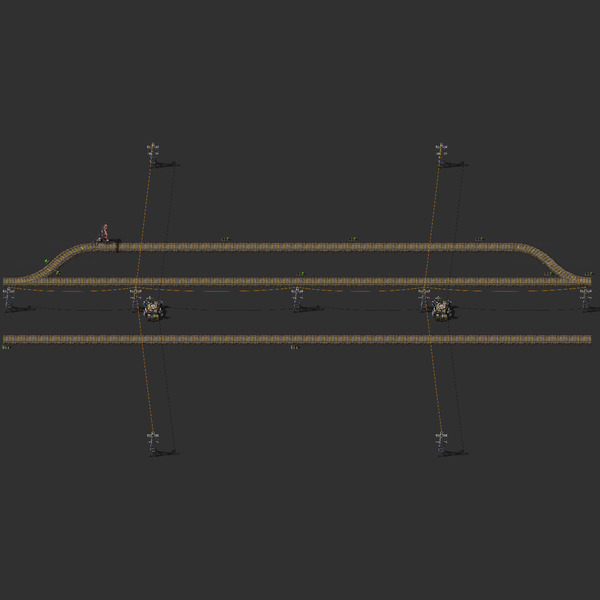
This train stops features a few waiting areas. You can use this for a busy stop with multiple trains going to it to keep them from clogging up the tracks.
Blueprint
Solid Load
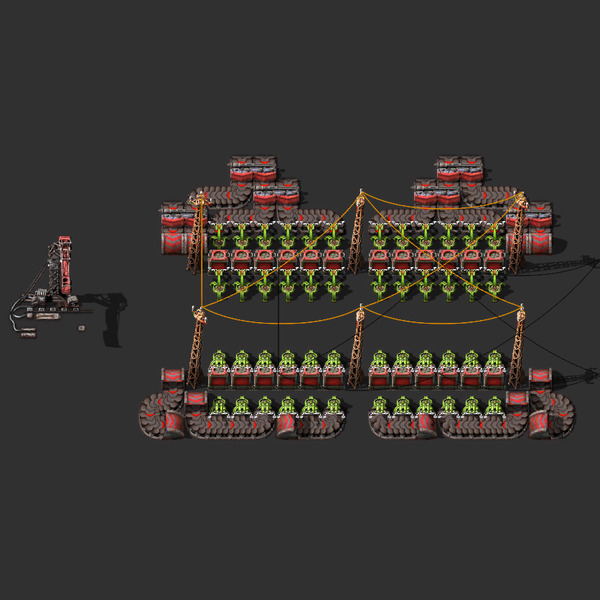
This can be plopped down on top of a train stop for easy solid loading. Also, "Solid Load" sounds like a joke about poo and I apologize for that.
Red Belts
Blue Belts
Solid Unload
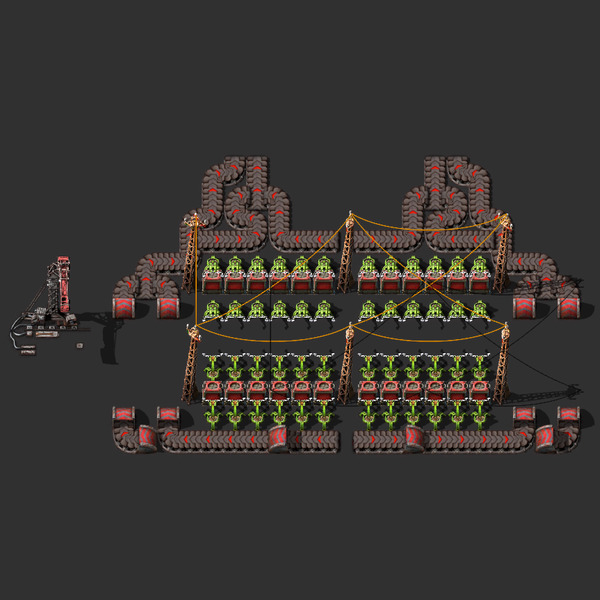
Put this down on top of the train stop blueprint for quick solid unloading.
Red Belts
Blue Belts
Liquid Load
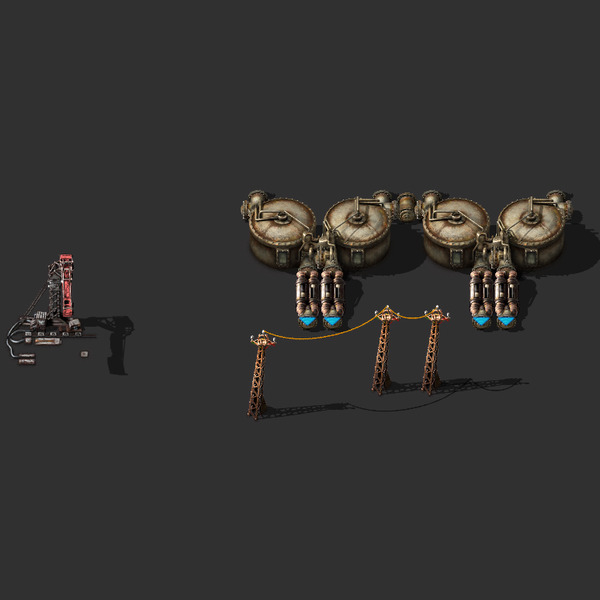
Quickly loads two fluid wagons.
Blueprint
Liquid Unload
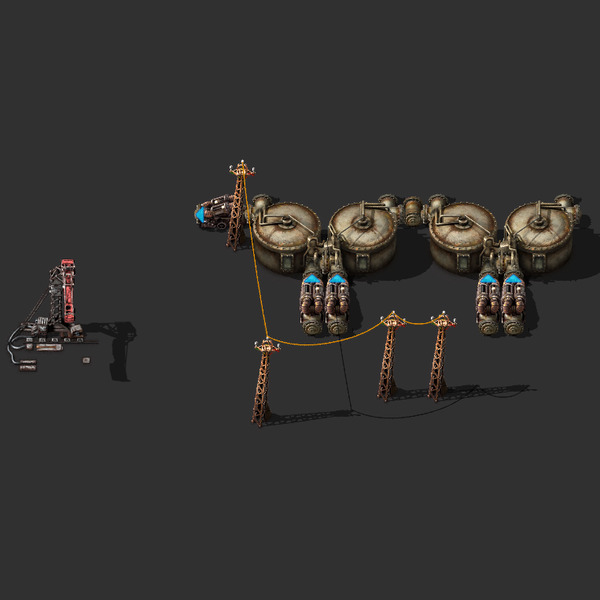
Quick unloads two fluid wagons.
Blueprint
Train Depot
Train Depot (Basic)
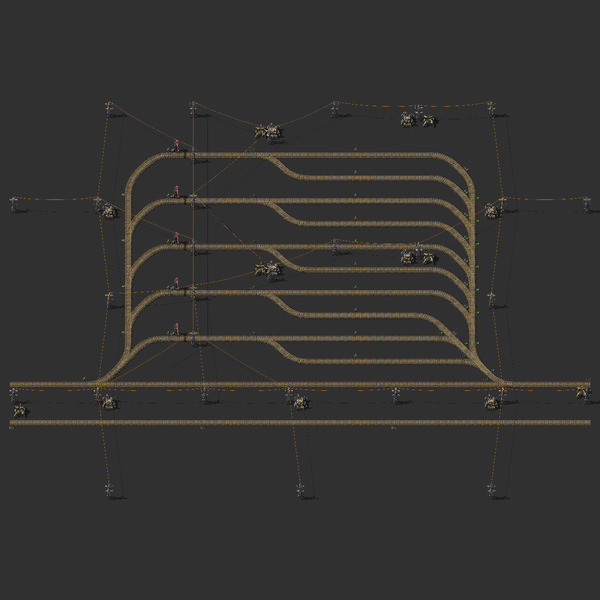
An infinitely expandable train depot! This basic version is easier to build by hand, but I suggest upgrading to the advanced version below once you have robots building it for you.
Blueprint
Train Depot (Advanced)
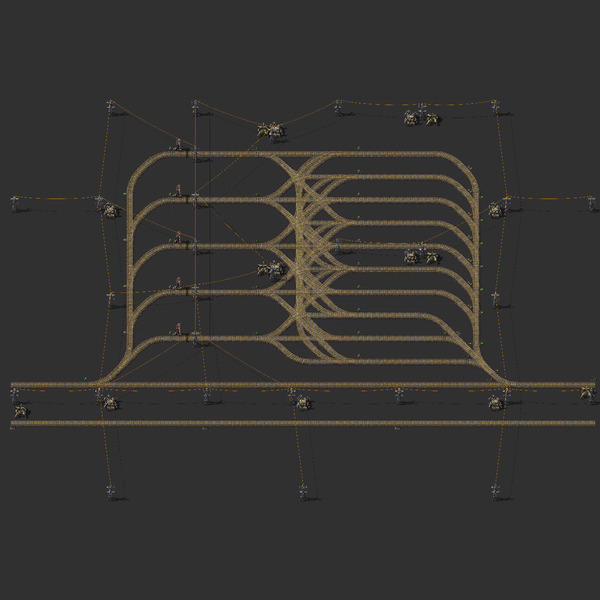
An upgrade to the basic version that allows any train waiting area to go to any train station. This does a good job of keeping the trains moving, even if one or more of the stations are very busy. You can expand it forever.
Blueprint
Train Depot Expansion
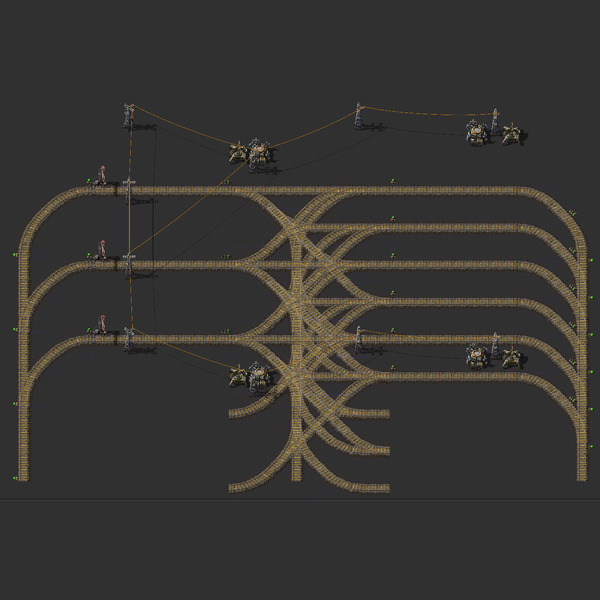
Expands the advanced depot.
Blueprint
Depot Solid Unload
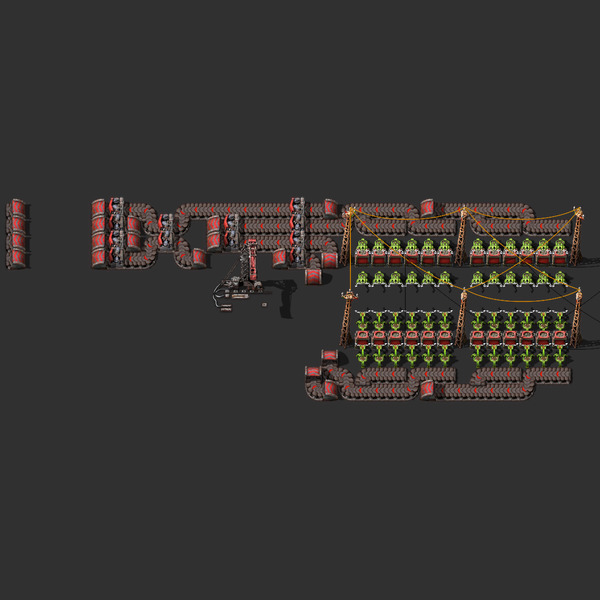
Unloads solid goods from trains in the depot.
Red Belts
Blue Belts
Depot Solid Load
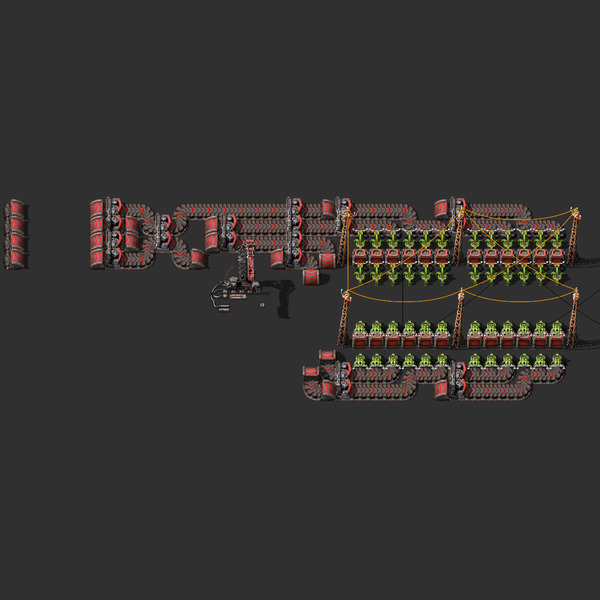
Loads sold goods into trains in the depot.
Red Belts
Blue Belts
Depot Liquid Unload
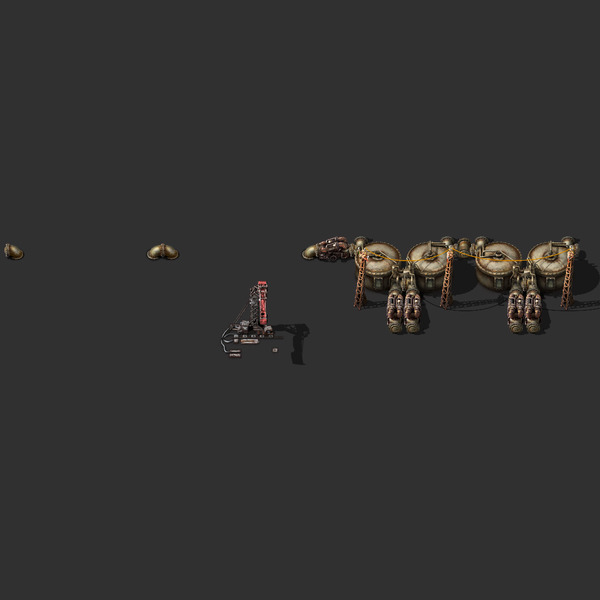
Unloads liquid from fluid wagons.
Blueprint
Depot Liquid Load
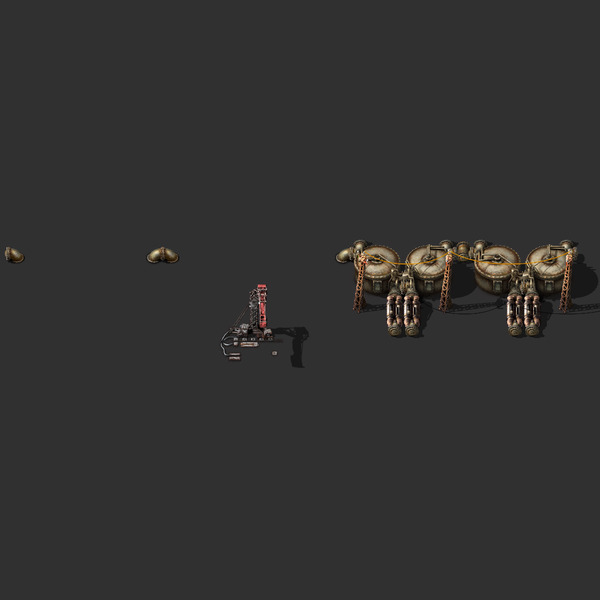
Loads liquid into fluid wagons
Blueprint
Train Roundabouts
Train Roundabout
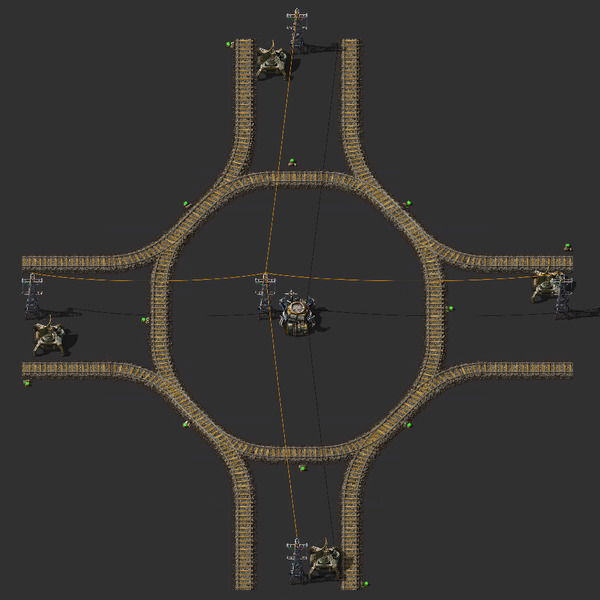
A lot of people hate on roundabouts. But not me, man. I'm not judging. You do you.
Blueprint
Train 3-Way Roundabout
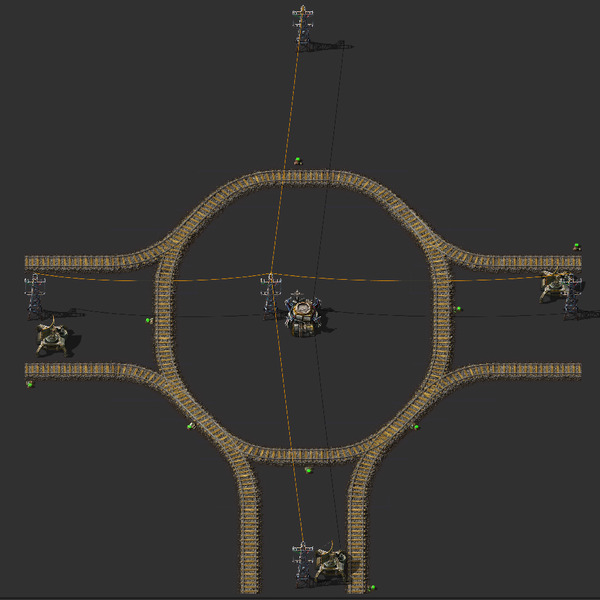
Like the roundabout but only 3-way.
Blueprint
Train 2-Way Roundabout (Through)
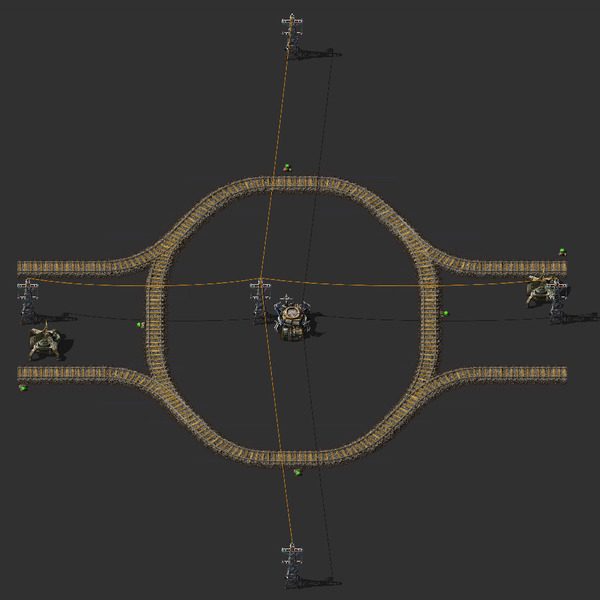
Pound on the ground for going through or around but never up nor down.
Blueprint
Train 2-Way Roundabout (Turn)
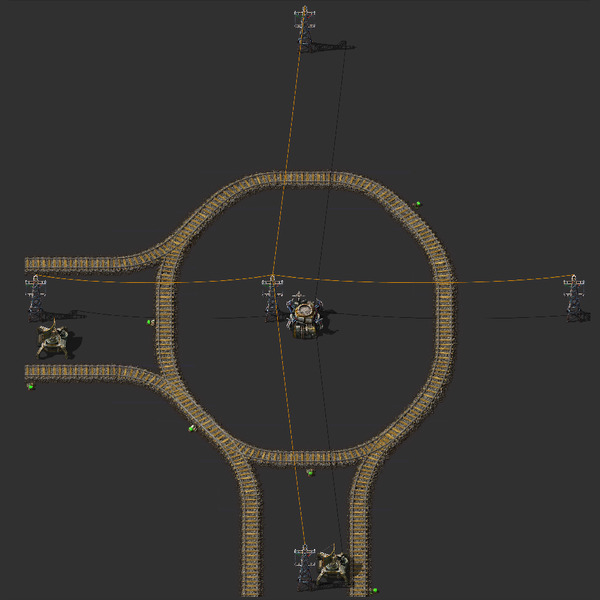
I get really tired of writing these descriptions. Do you get tired of reading them?
Blueprint
Diagonal Train Roundabout
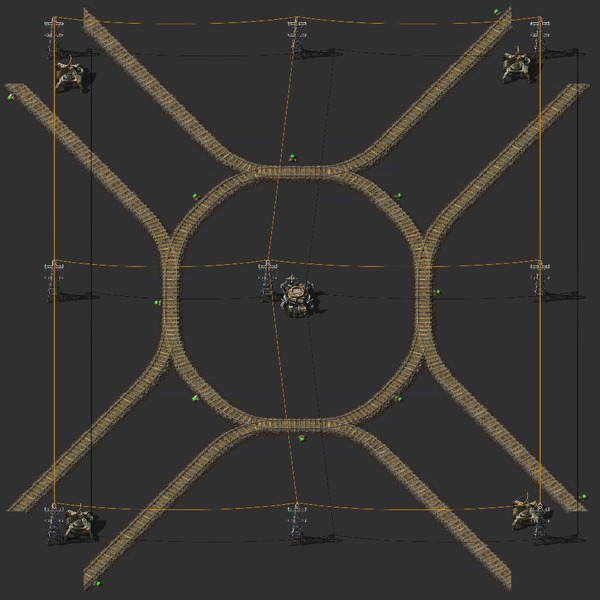
A roundabout with diagonal entrances and exits.
Blueprint
Diagonal Train 3-Way Roundabout
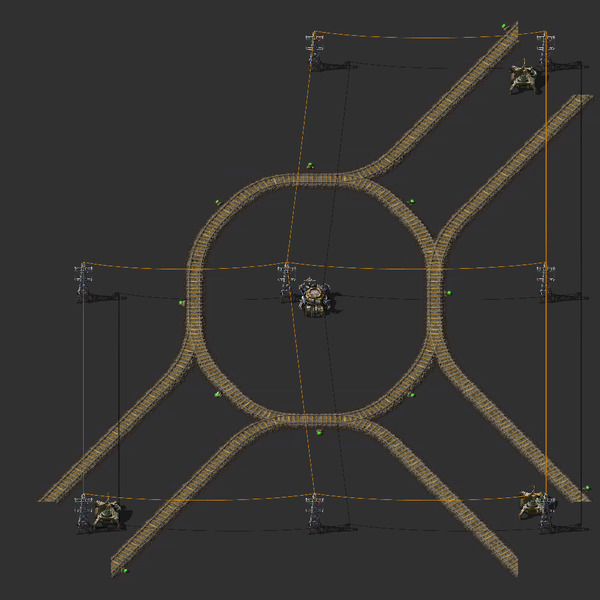
What did the tie say to the hat? You go on a-head, and I'll just hang around! What does that have to do with this blueprint? Nothing at all.
Blueprint
Diagonal Train 2-Way Roundabout (Through)
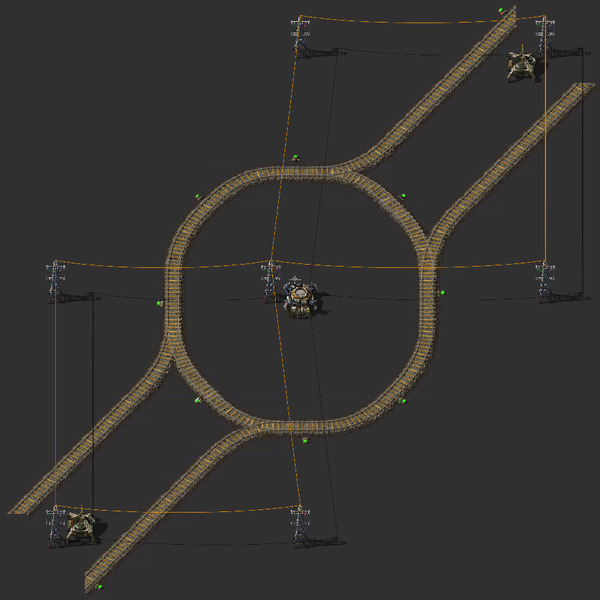
It's like that other roundabout except it has less thingies.
Blueprint
Diagonal Train 2-Way Roundabout (Turn)
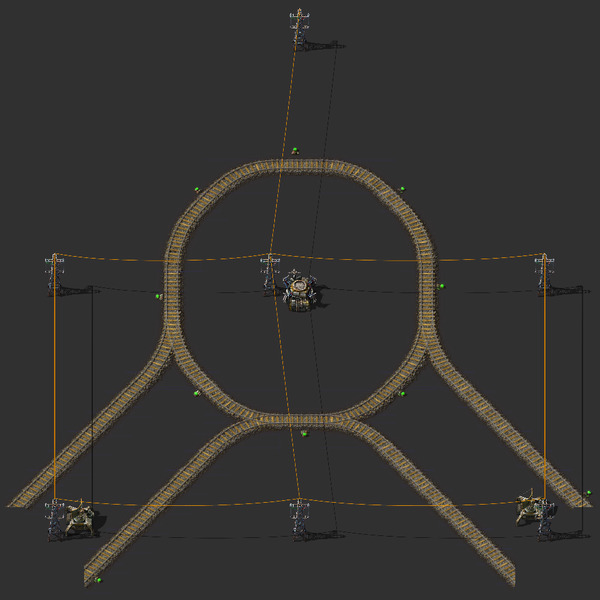
If you squint this looks like an alien spaceship.
Blueprint
Train 8-Way Roundabout
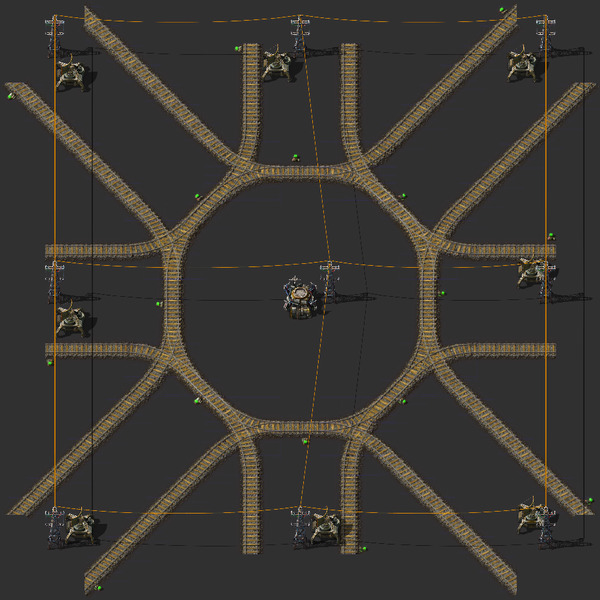
I know what you're thinking. "When would you ever need something like this? Does it even work? Could it deadlock?" The answer is simple: Leave me alone and stop asking so many questions!!
Blueprint
Train Refueling
Train Refueling
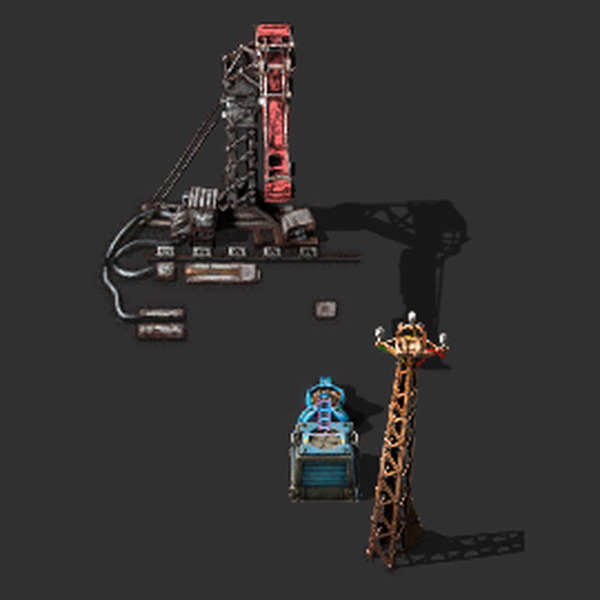
You can put one of these down at a train station to have robots bring fuel to refuel any trains that go by. Each requestor chest requests enough fuel to fill up two trains (6 inventory spaces worth).
Refuel with coal
Refuel with solid fuel
Refuel with rocket fuel
Refuel with nuclear fuel
Intermediates
Iron Gear Wheels
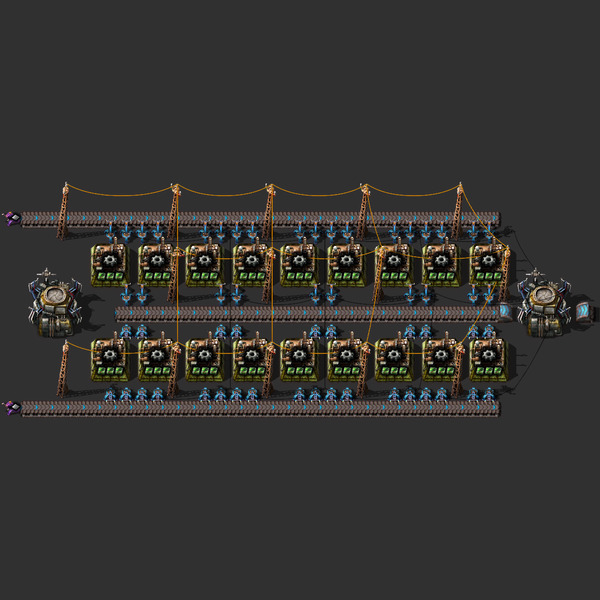
This makes gears. 'Nuff said.
AM2 Through Yellow Belt
AM2 In-Out Yellow Belt
AM2 Through Red Belt
AM2 In-Out Red Belt
AM2 Through Blue Belt
AM2 In-Out Blue Belt
AM3 Through Yellow Belt
AM3 In-Out Yellow Belt
AM3 Through Red Belt
AM3 In-Out Red Belt
AM3 Through Blue Belt
AM3 In-Out Blue Belt
Beaconed Iron Gear Wheels
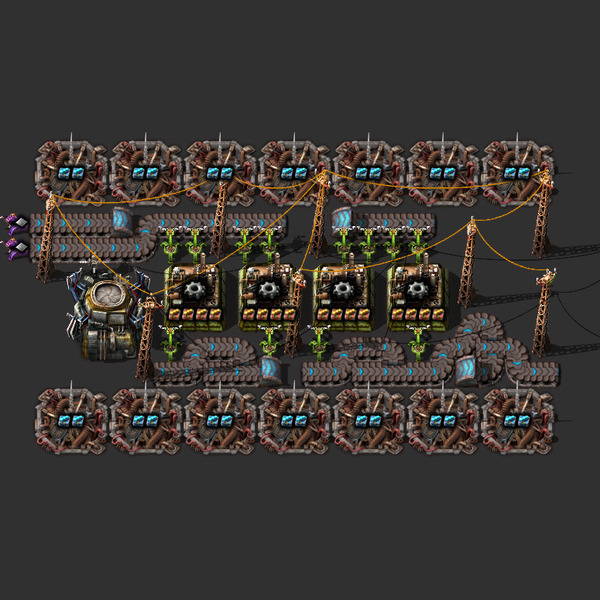
Late game iron gears.
Through
In-Out
Green Circuits
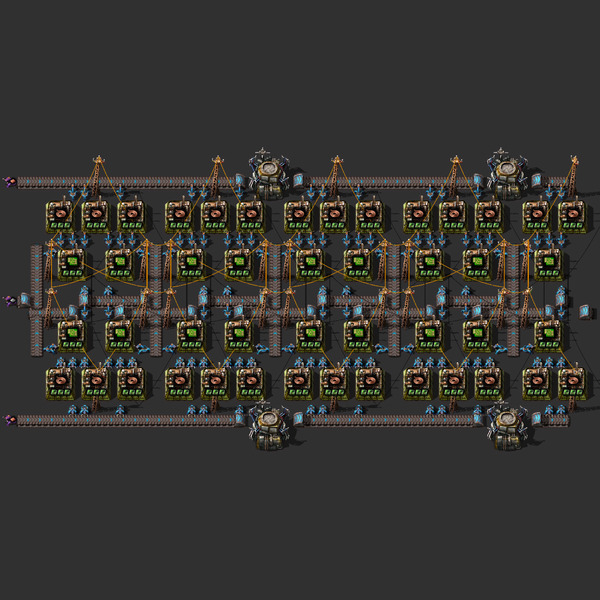
A whole bunch of blueprints to produce green circuits, with variations on belt speed (blue vs red vs yellow), direction (through or in-out), and assembling machines (2 or 3).
AM2 Through Yellow Belt
AM2 In-Out Yellow Belt
AM2 Through Red Belt
AM2 In-Out Red Belt
AM2 Through Blue Belt
AM2 In-Out Blue Belt
AM3 Through Yellow Belt
AM3 In-Out Yellow Belt
AM3 Through Red Belt
AM3 In-Out Red Belt
AM3 Through Blue Belt
AM3 In-Out Blue Belt
Beaconed Green Circuits
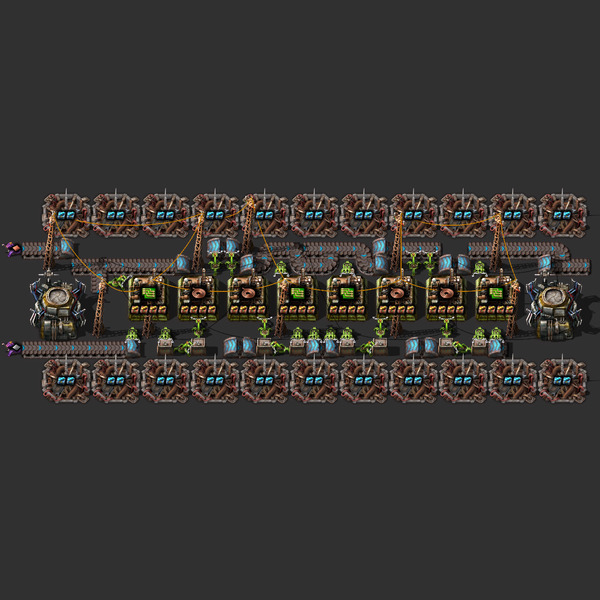
A late game blueprint using beacons with speed modules productivity modules to make just so many green circuits with so few assembling machines.
Through
In-Out
Plastic Bars
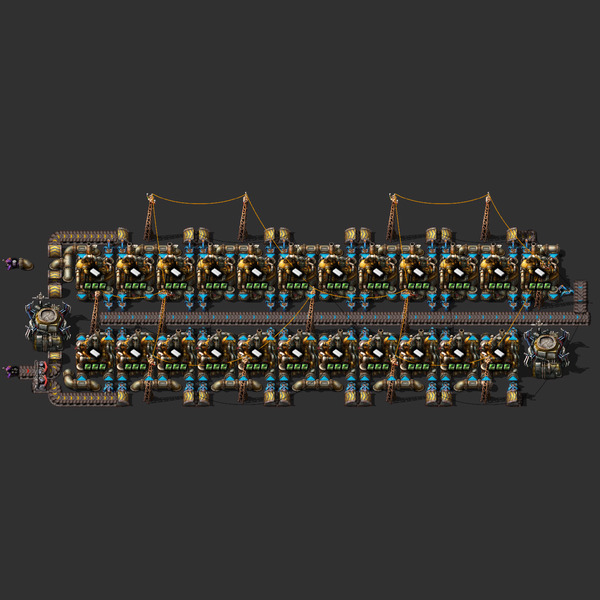
A bunch of blueprints for making plastic bars.
Through Yellow Belt
In-Out Yellow Belt
Through Red Belt
In-Out Red Belt
Through Blue Belt
In-Out Blue Belt
Beaconed Plastic Bars
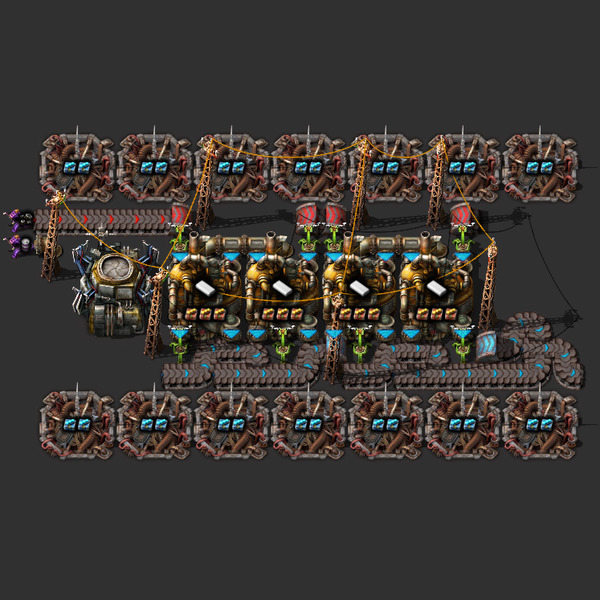
You know the drill. Makes plastic bars.
Through
In-Out
Red Circuits
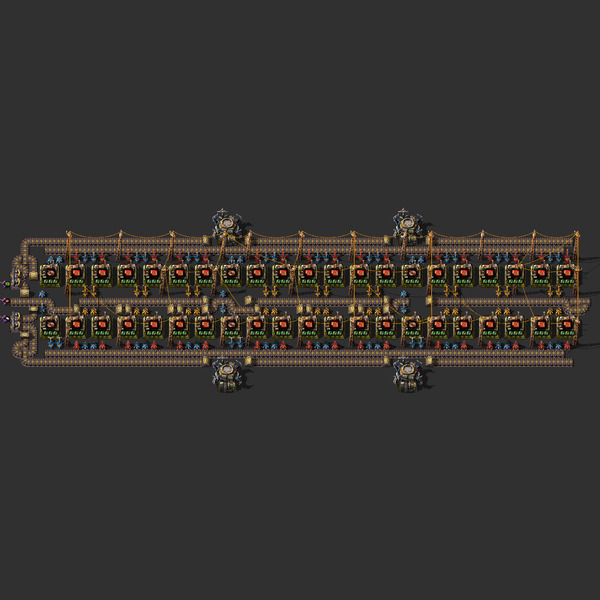
Each of these will produce a half-yellow-belt of red circuits. They tend to be long, so if you want more red circuit production I suggest just slapping down more of these blueprints.
Through AM2
In-Out AM2
Through AM3
In-Out AM3
Beaconed Red Circuits
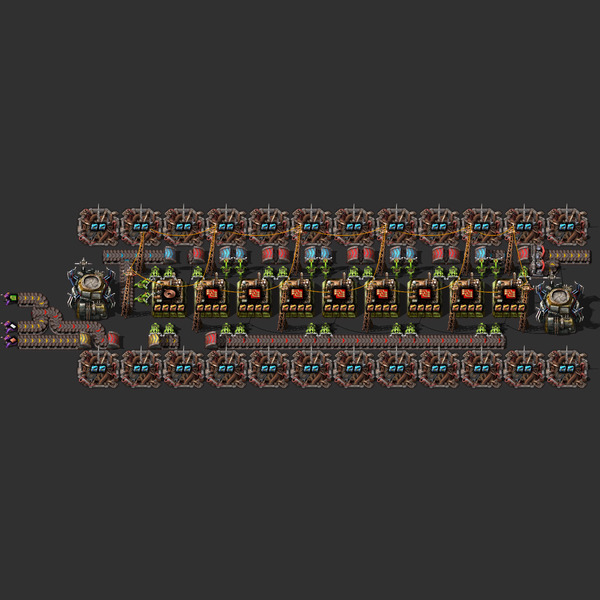
This produces like, I dunno, not quite a full yellow belt. Math is hard.
Through
In-Out
Sulfuric Acid
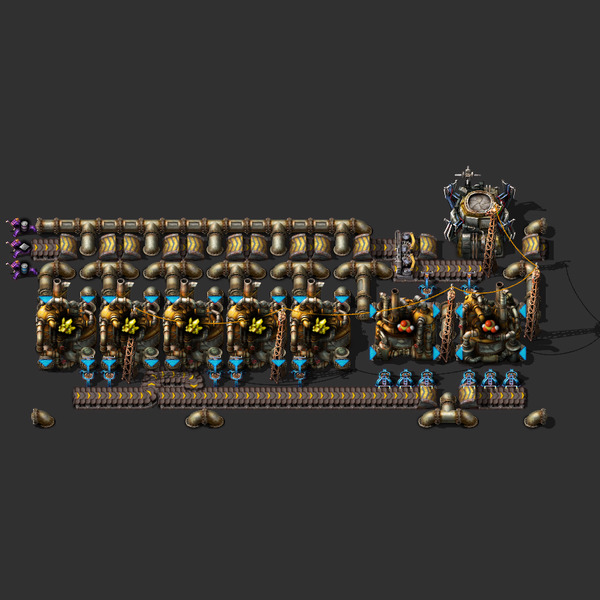
You really don't need much of this stuff. This blueprint is designed to be extendable, so you can put just one down and then extend it if you need more. You can get the sulfuric acid output from either side.
Blueprint
Blue Circuits
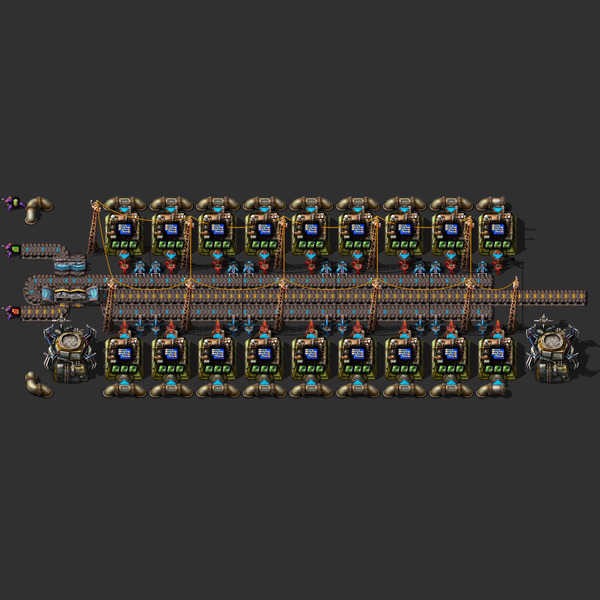
Each of these is designed to consume a full belt of green circuits.
AM2 Through Yellow Belt
AM2 In-Out Yellow Belt
AM2 Through Red Belt
AM2 In-Out Red Belt
AM2 Through Blue Belt
AM2 In-Out Blue Belt
AM3 Through Yellow Belt
AM3 In-Out Yellow Belt
AM3 Through Red Belt
AM3 In-Out Red Belt
AM3 Through Blue Belt
AM3 ThroIn-Outugh Blue Belt
Beaconed Blue Circuits
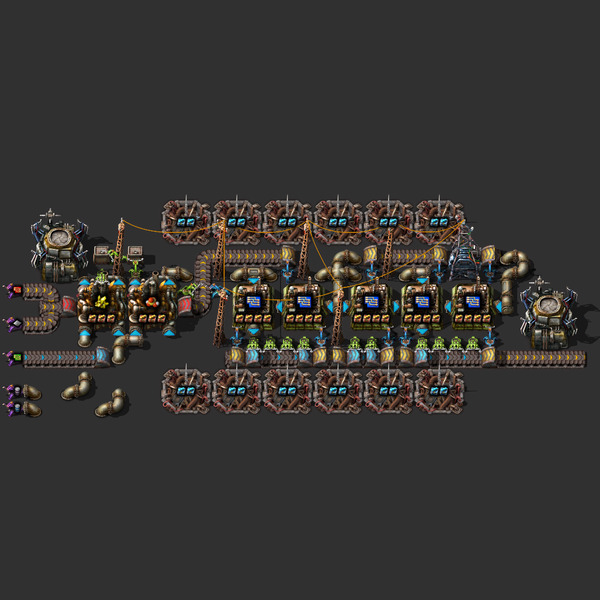
This'll use an entire blue belt of green circuits. The ratios are a little weird because if you add or remove either assembling machines or beacons, either the whole belt won't get used or there'll be more down time. This makes sulfuric acid onsite.
Through
In-Out
Explosives
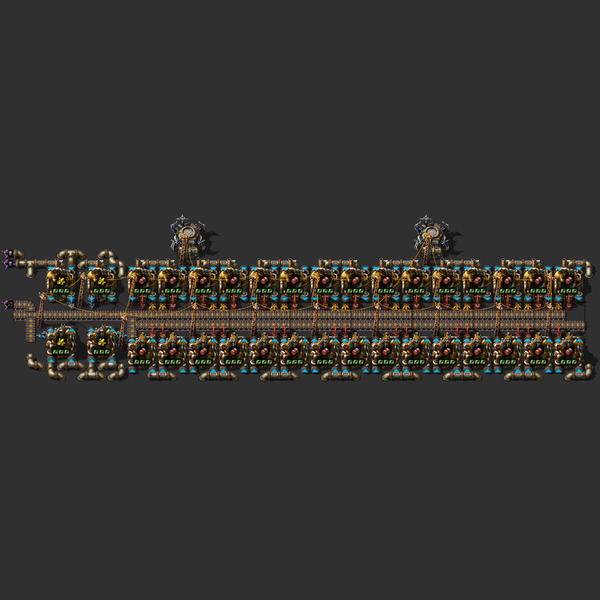
I only created yellow belt versions of this. It's easy to make more than one, and honestly I'm not sure you're going too actually need more than one.
Through
In-Out
Beaconed Explosives
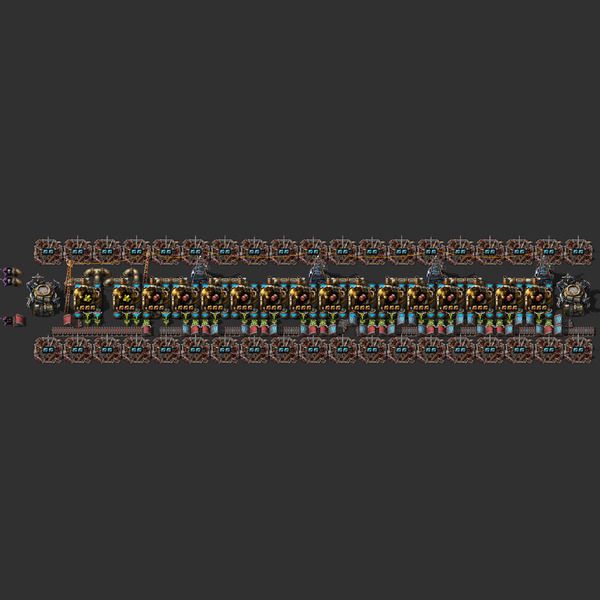
I don't know if you'll ever need something like this. And the ratios are kinda weird and it was just really hard to get right. But, I guess if you want to blow lots of things up, these will help.
Through
In-Out
Beaconed Batteries
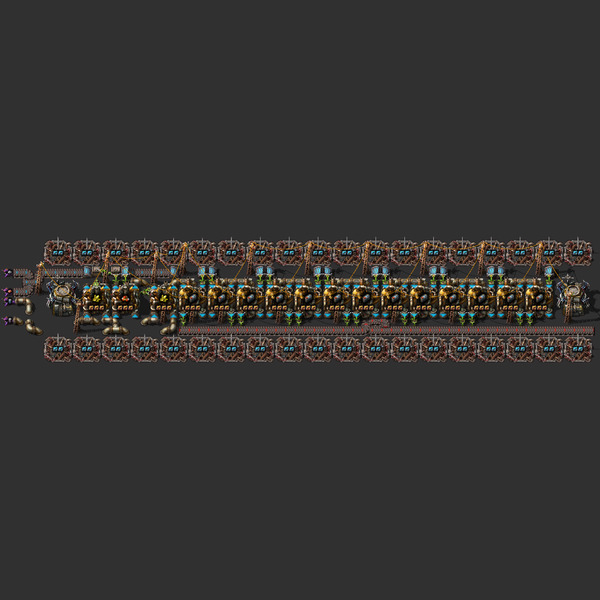
Outputs about 70% of a red belt of batteries. This makes sulfuric acid onsite, because it's only really used for batteries and for blue circuits (which also make it onsite).
Through
In-Out
Beaconed Engines
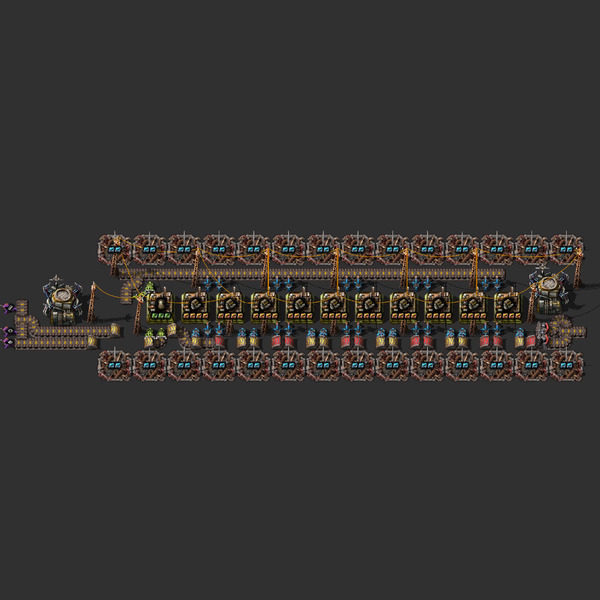
This will produce almost exactly half a yellow belt of engines. Like, eerily close. Almost like it was planned that way. Except I swear, it wasn't, it just kinda happened. I am not smart enough to do that with all the crazy math for beacons and such. Anyway, it's kind of long, so if you want more I suggest putting down a second or third blueprint--making this one longer gets complicated.
Through
In-Out
Beaconed Electric Engines
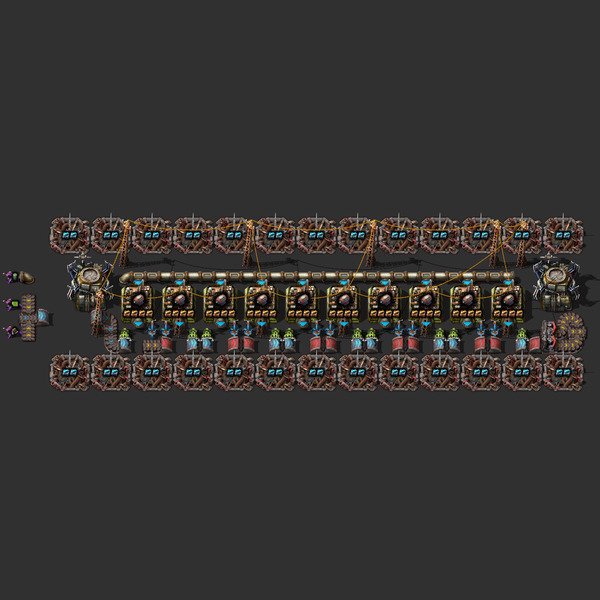
This produces electric engines at the same rate as the beaconed engines blueprint produces engines. Because, I dunno, symmetry?
Through
In-Out
Beaconed Flying Robot Frames
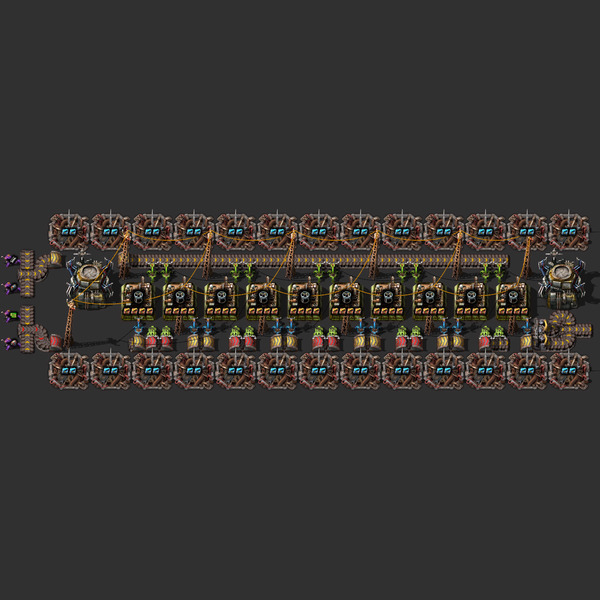
Get those robots crankin'!
Through
In-Out
Concrete
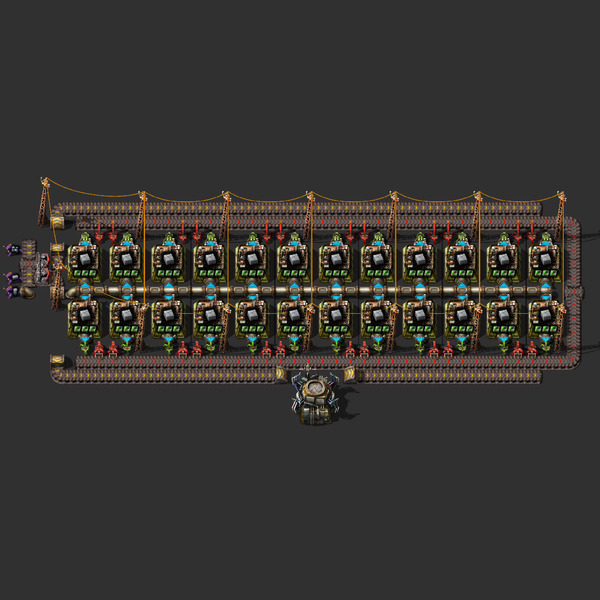
Concrete is needed in pretty significant amounts for a few products, such as centrifuges. In that sense concrete is sort of an intermediate. This will generate a red belt of concrete.
Through
In-Out
Beaconed Rocket Control Units
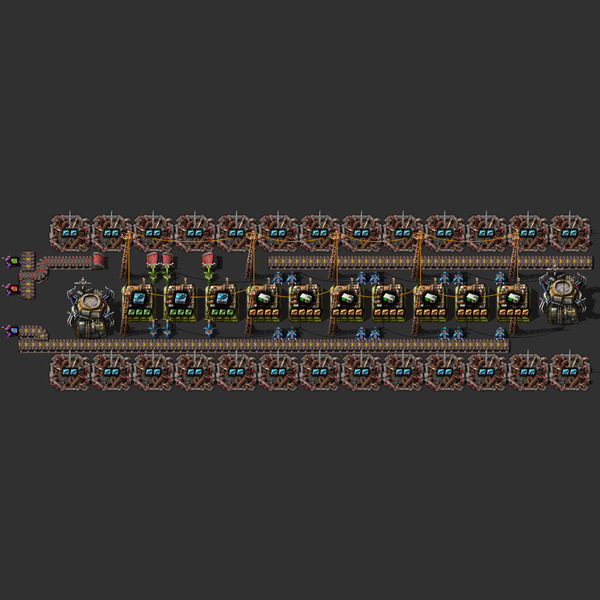
This doesn't produce rocket control units particularly fast, but the ratios are about right and it's easy to put down multiple blueprints to produce more.
Through
In-Out
Base
Basic Stuff
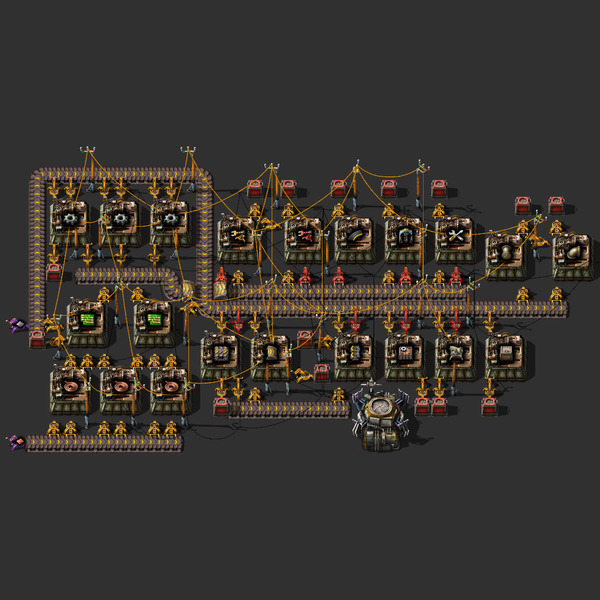
A bunch of useful very early game things. I tried to have this more-or-less prioritize the things you'll be most in need of. This includes some personal gears and green circuits which might be helpful as you manually create things.
Assembling Machine 1
Assembling Machine 2
Assembling Machine 3
Fast Inserters
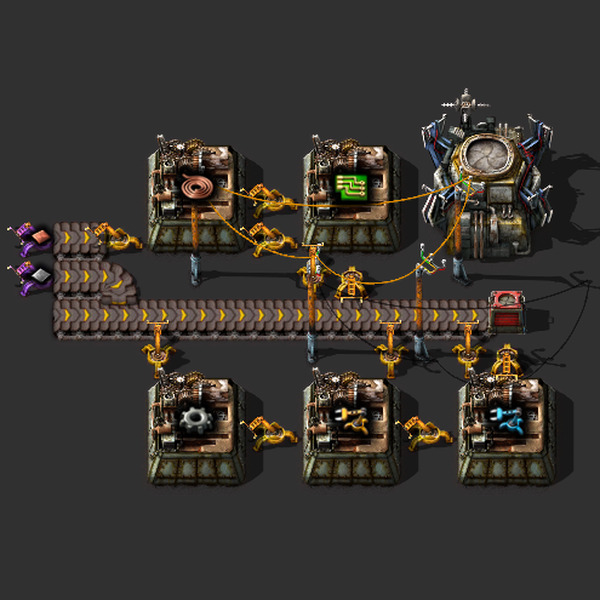
This makes fast inserters. But does it make fast inserters fast? Or fast fast inserters? Or fast fast inserters fast? No, of course not, there are no fast fast inserters you n00b!
AM1
AM2
AM3
Assembling Machine 2s
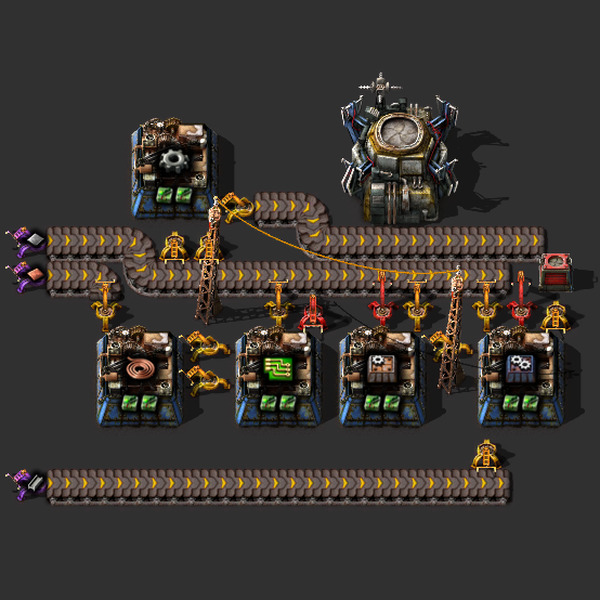
You can have your assembling machine 2 in any color, as long as it's blue.
AM2
AM3
Steel Poles and Furnaces
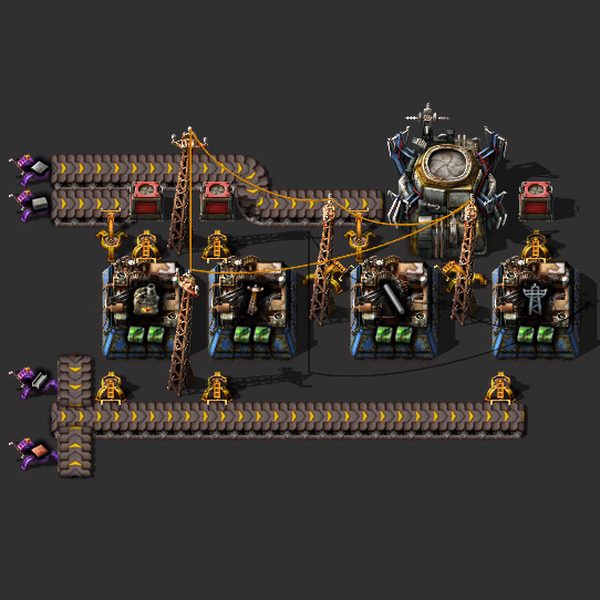
I steel got it!
AM2
AM3
Red Belts
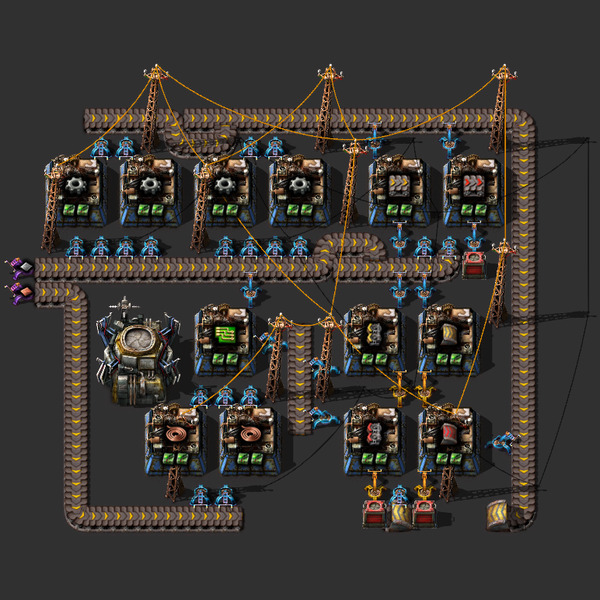
I feel like I'm always hurting from red belts just after they are researched, so this is designed to produce them at a pretty decent pace.
AM2
AM3
Floors and Gates
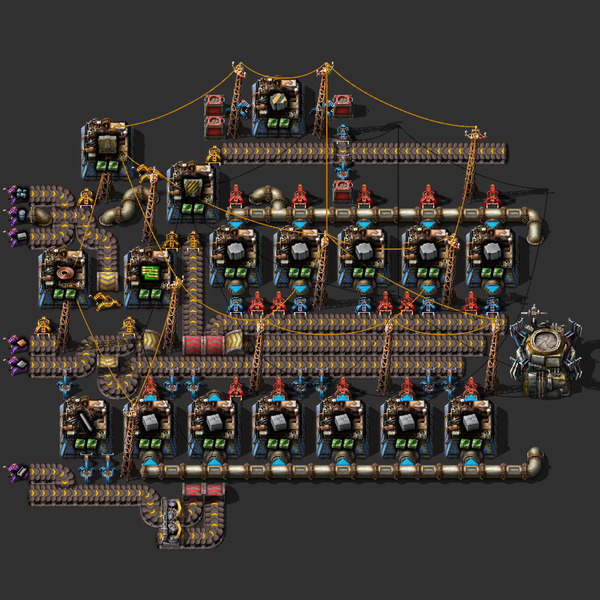
This makes refined concrete at a decent pace. I also threw in gates because you unlock them around this time and I don't know where else to put them.
AM2
AM3
Trains!
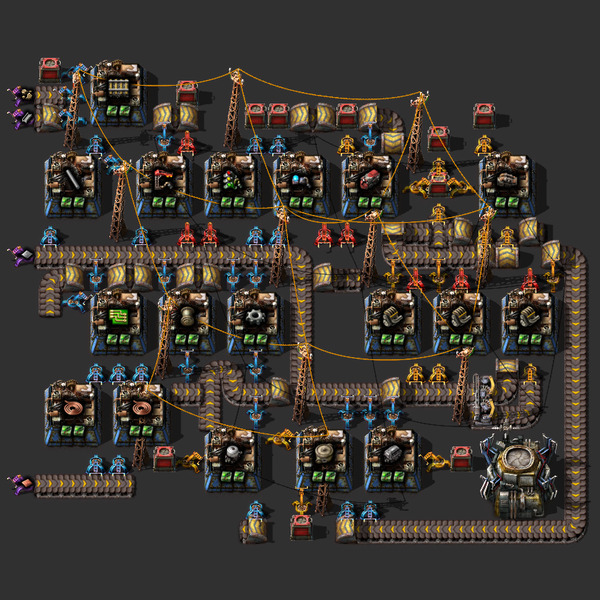
Trains! For all your train-related needs. I also threw in a box to hold some personal engines in case you need them to build a car or tank or something.
AM2
AM3
Oil Stuff
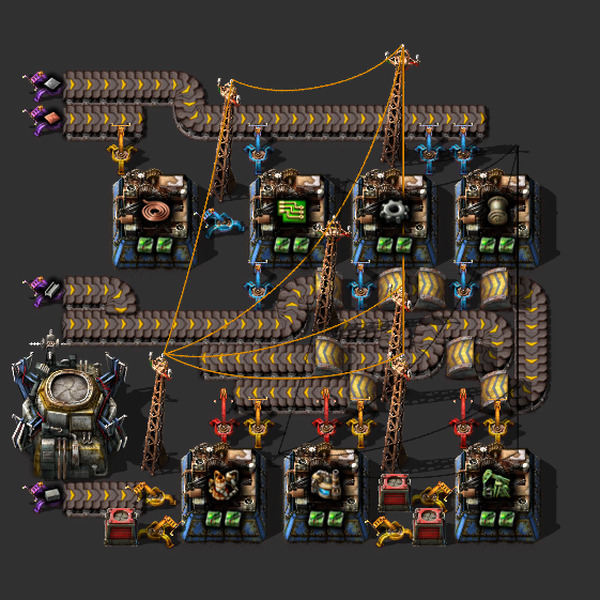
This is everything you need to get basic oil running. It doesn't produce pipes because my Basic Stuff blueprint does that already.
AM2
AM3
Cliff Explosives
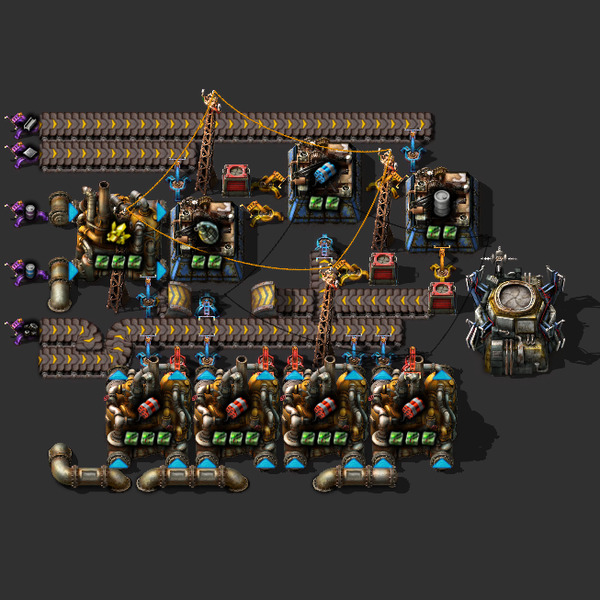
Generates cliff explosives. I also threw in personal barrels and explosives in case you need them.
AM2
AM3
Robots
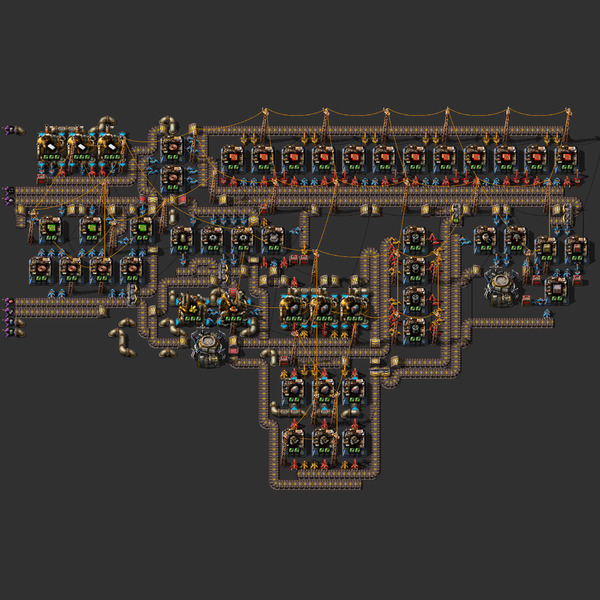
This will produce logistics and construction robots at a decent pace and place them directly into a roboport. It also creates roboports, chests, and a few intermediates for personal use. It takes a little to get going, mostly because the chests production part gets a bit greedy, but nevertheless it produces pretty well.
AM2
AM3
Stack Inserters
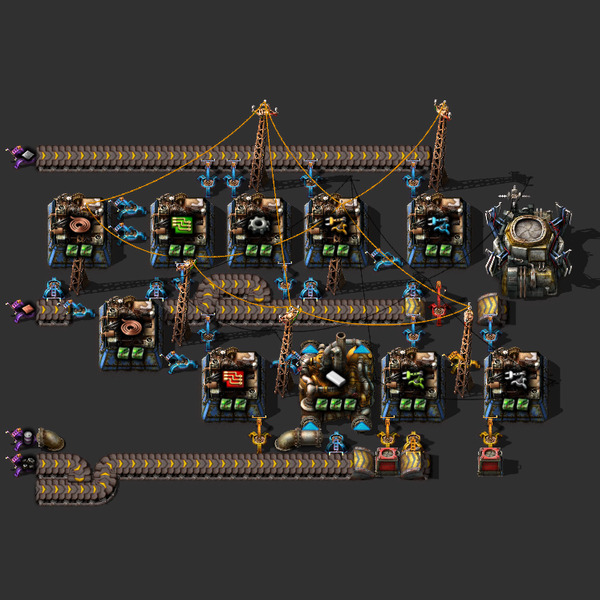
Makes both stack inserters and filter stack inserters.
AM2
AM3
Circuit Stuff
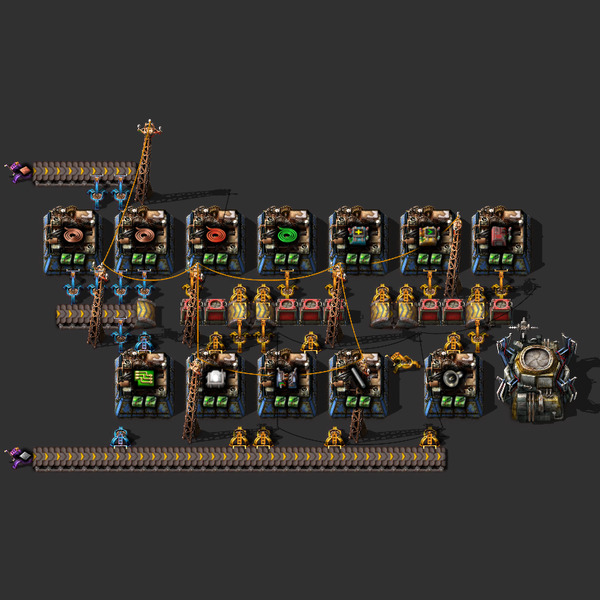
Imma be honest with you: I know like nothing about these things. I've barely used circuits at all. They are a mystery to me. I'm a computer programmer who doesn't understand factorio circuits. It's a sad, sad thing.
AM2
AM3
Solar, Accumulators, and Substations
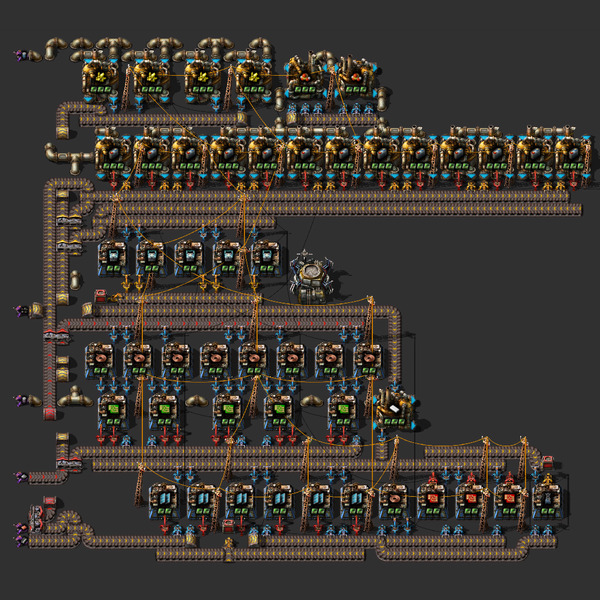
This produces solar panels and accumulators at about the ideal ratio. I also threw in Substrations because I find they're very helpful when you're doing solar.
AM2
AM3
Electric Furnaces
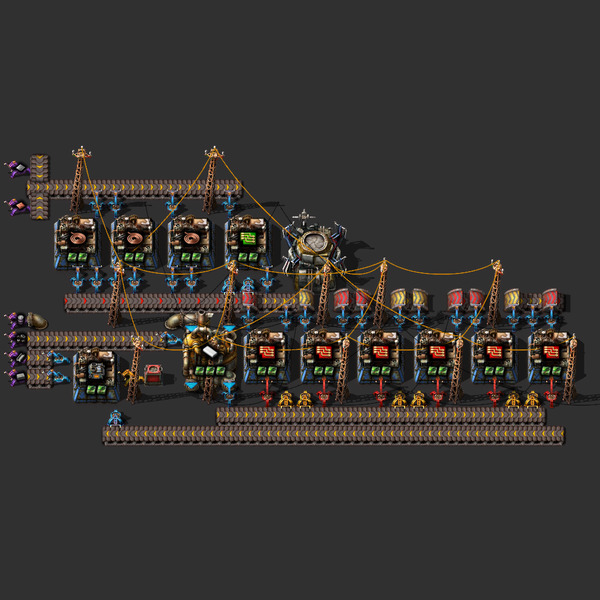
I'm getting tired of writing these. Are you getting tired of reading these? This thing makes electric furnaces, okay? What else can I say? Why are you still reading this? Move on, man! Move on! Or ... woman. Move on, woman! Just, whoever you are, move on.
AM2
AM3
Assembling Machine 3s
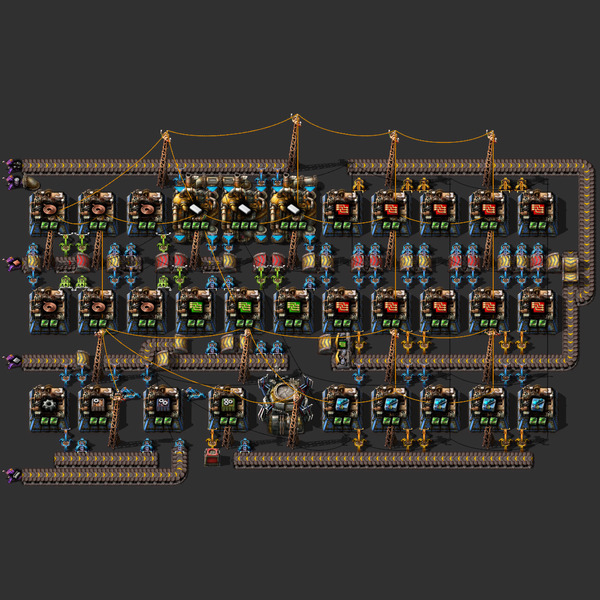
I like this blueprint. It's kinda symmetrical and pretty. It makes assembling machine 3s and consumes an entire yellow copper belt to make one every 12 seconds or so (assuming you are producing them with assembling machine 3s).
AM2
AM3
Nuclear Items
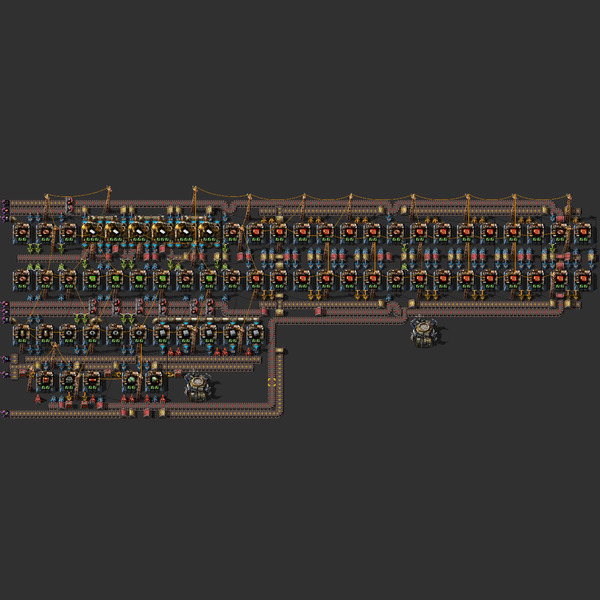
This big ol' thing will produce everything you need to get nuclear up and running. It's extremely resource hungry and still takes a while to output what you'll need. But once you have nuclear going, it should eventually fill up and mostly sit idle.
AM2
AM3
Blue Belts
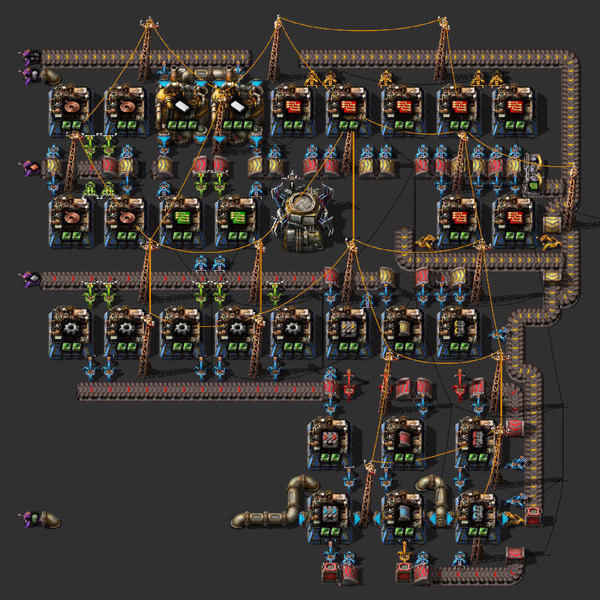
For when you have the NEED for SPEED and also the THIRST YOU CAN'T SLATE to GOBBLE UP IRON PLATES!
AM2
AM3
Robochests
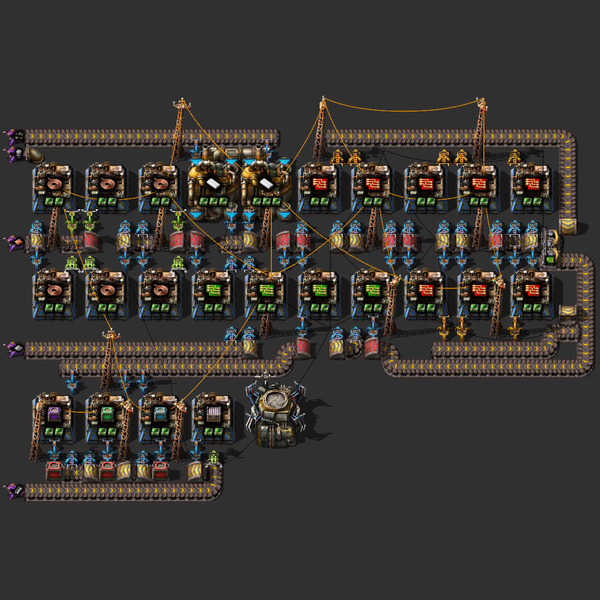
Makes more roboty things.
AM2
AM3
Beacon of Hope
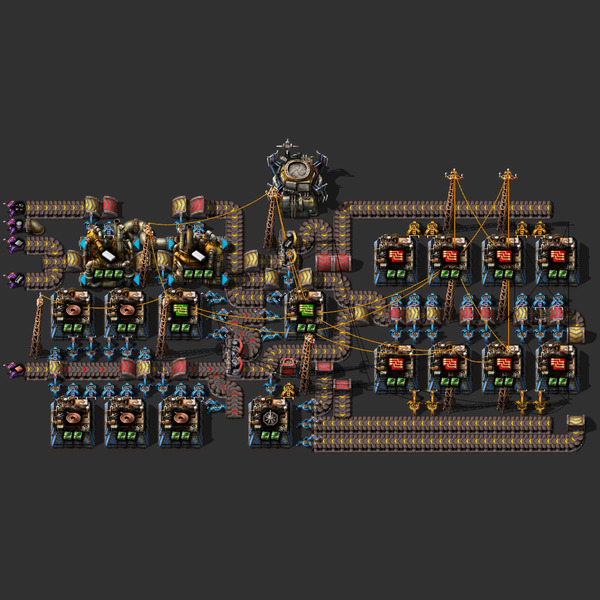
This is enough to keep one assembling machine continuously producing beacons. Is that enough? That's probably enough. I dunno maybe you super late game people would scoff at it.
AM2
AM3
Military
Basic Military Stuff
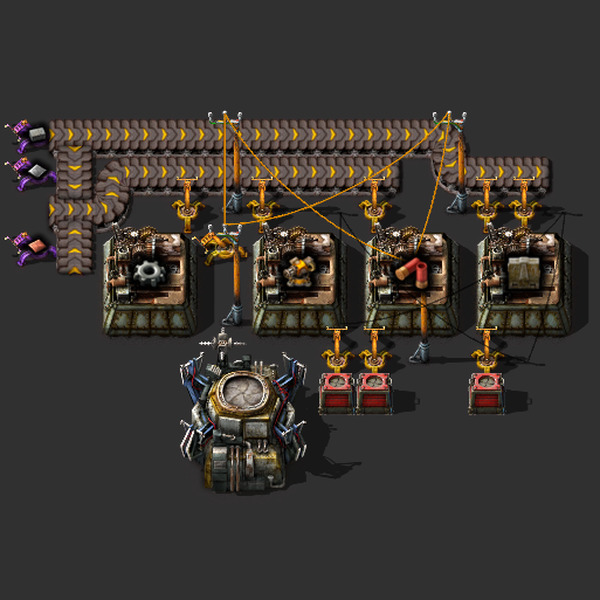
Creates useful early military thingamabobs.
AM1
AM2
AM3
Military 2
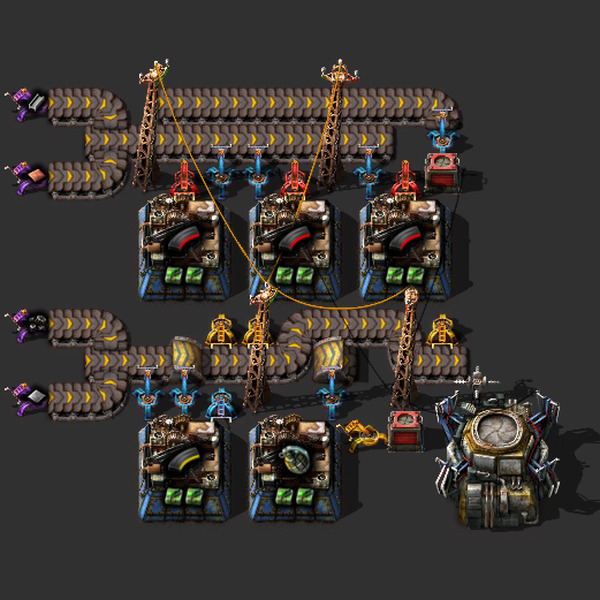
Grenades! Show those trees whose boss! Oh, I guess this also makes ammo for bugs, meh, whatever. Stupid trees.
AM2
AM3
Flamethrower Turrets and Ammo
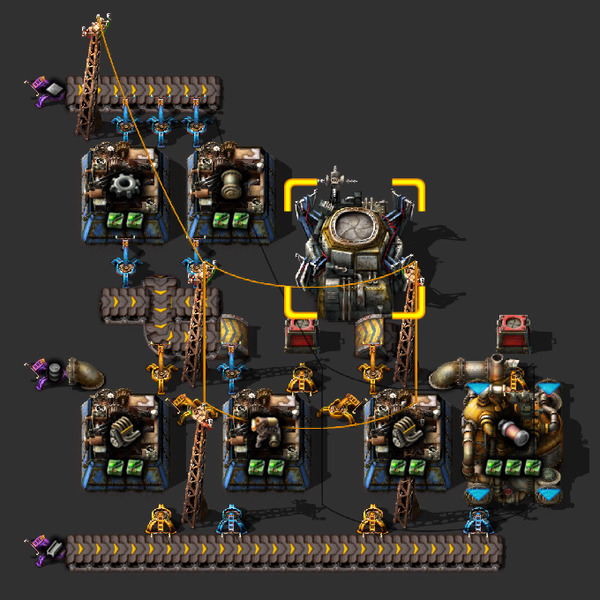
Listen, sometimes you just gotta burn stuff, like trees, or alien bugs that are just trying to defend their environmental paradise of a homeland from a smaug-producing psychopath who's willing to wipe out their entire planet just to leave in a rocket, only to decide he doesn't want to leave afterall because he's having too much fun destroying their planet. I mean, what if the alien-equivalent of Captain Planet shows up? You gotta burn him, you know? You just gotta burn him.
AM2
AM3
Landmines Not Yours
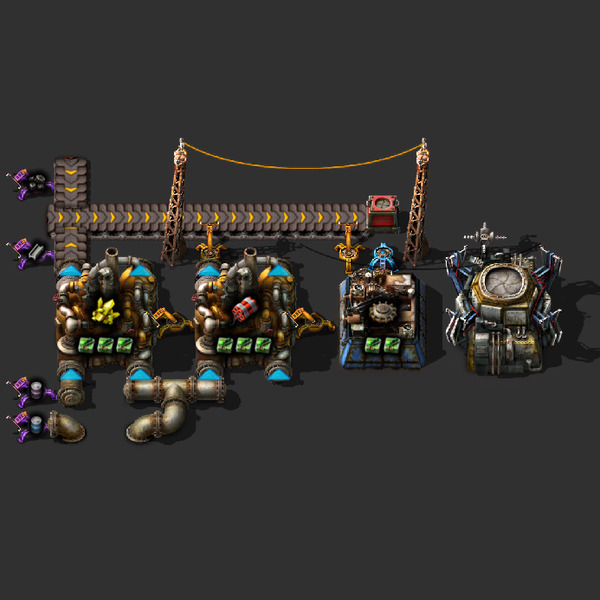
Makes the hidden booms.
AM2
AM3
Bust a Cap(sule)
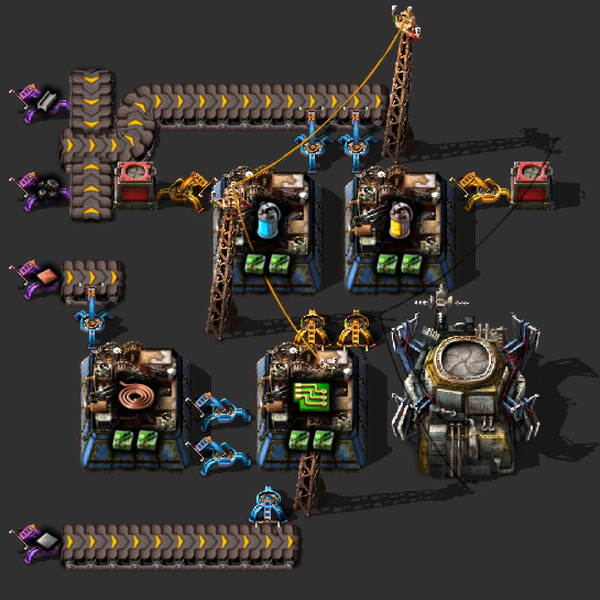
Makes capsules. You can bust 'em.
AM2
AM3
Rockets
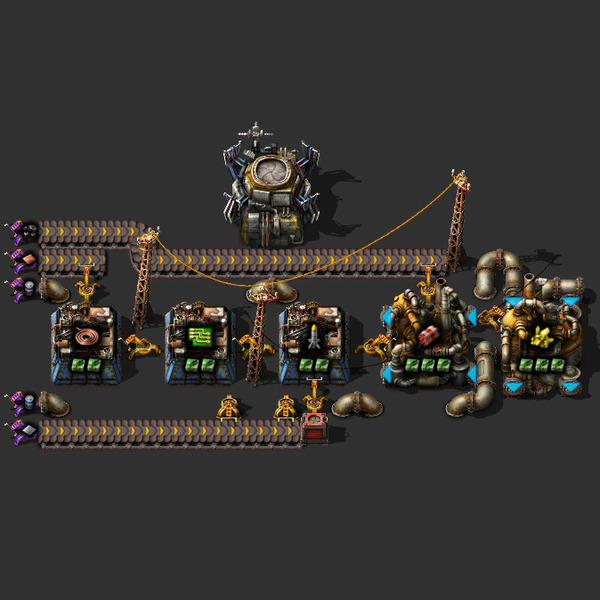
I know what you're thinking, because it's the same thing I'm thinking. It's the same thing we're all thinking: EXPLOSIONS!
AM2
AM3
Explosive Rockets
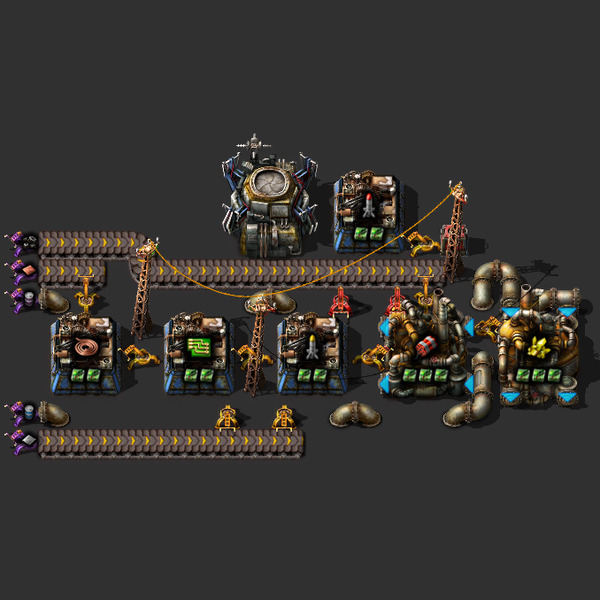
Slap this down on top of the Rockets blueprint to expand it or just put this down solo, either works.
AM2
AM3
Laser Turrets
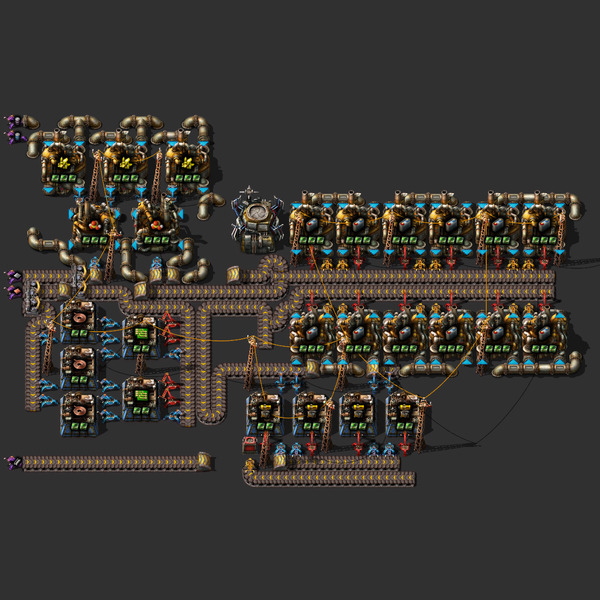
Pew Pew
AM2
AM3
Cannon Shells
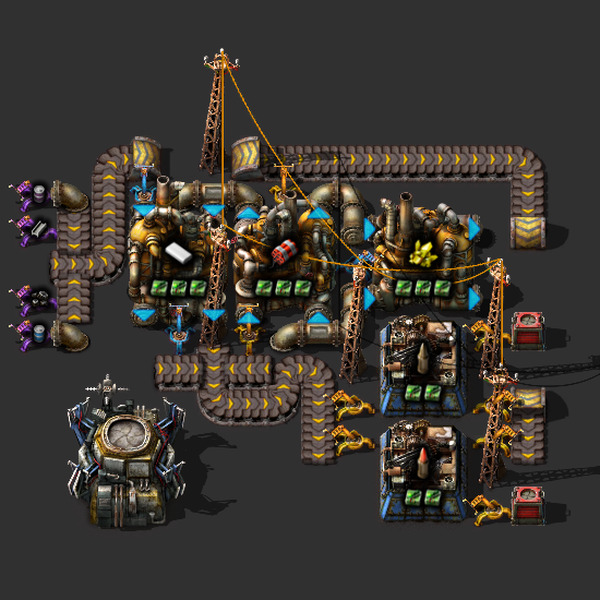
Ammo for your lovely tank.
AM2
AM3
Military 4
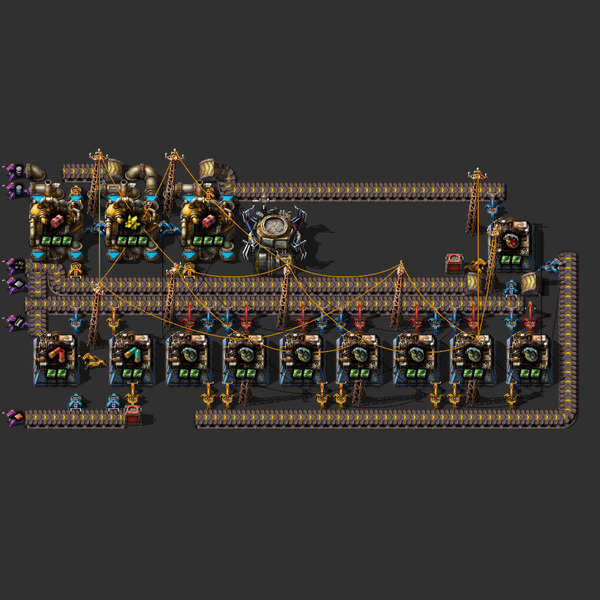
Cluster grenades and piercing shotgun shells.
AM2
AM3
My-I-Mean-Ur-anium Ammo
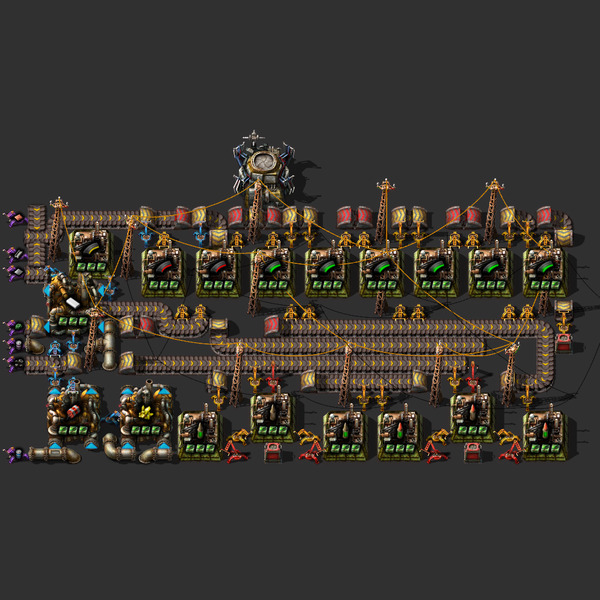
It's neat how inexpensive this stuff is once you get uranium up and running.
AM2
AM3
Artillery
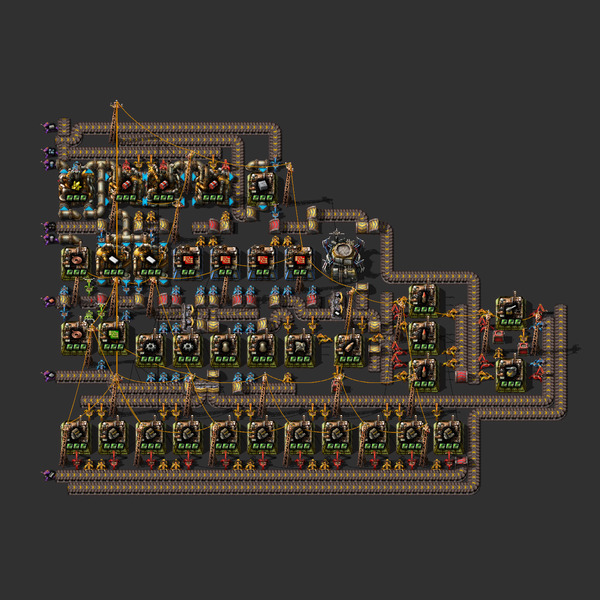
Makes the biggest booms.
AM2
AM3
Atomic Bomb
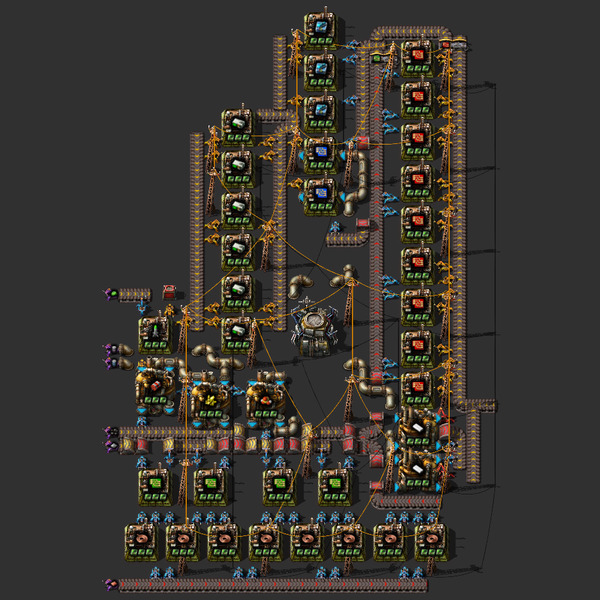
The ultimate tree-killer. Show those trees who's boss!
Blueprint
Defender Capsules
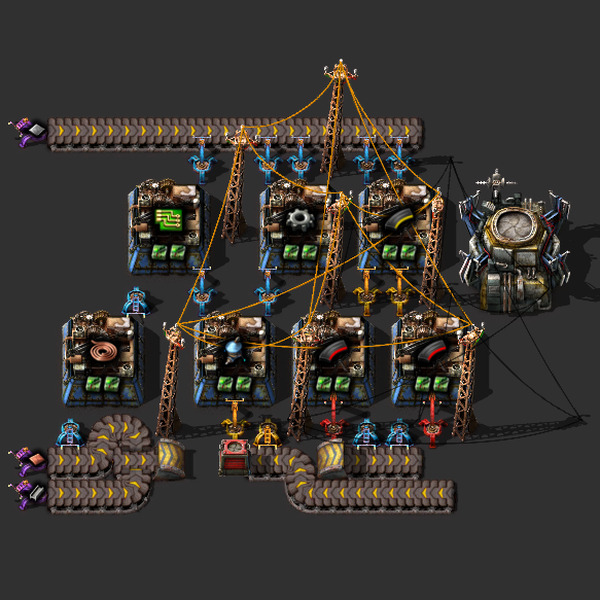
Robots don't have souls, so remember that when you watch them plummet to the ground after their tiny little bit of life runs out.
AM2
AM3
Distractor Capsules
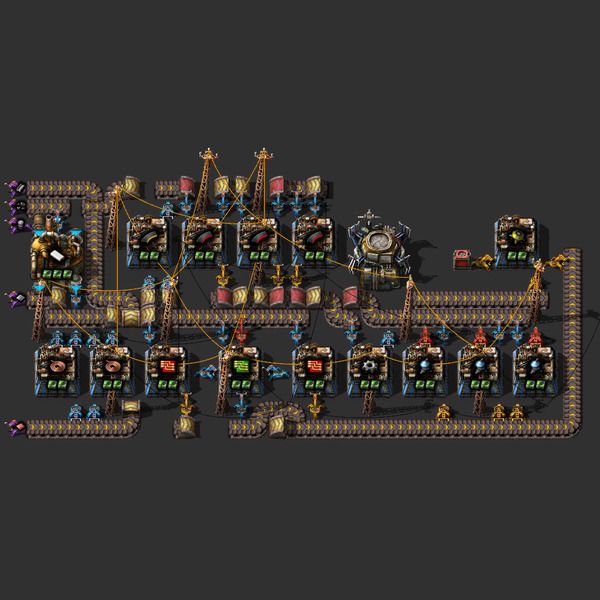
Okay ... you remember before, when I said robots don't have souls? Well that was technically a lie. Distractor robots do, in fact, have an experimental soul software installed. It doesn't serve any purpose, though. The goal was simply to make them really feel the pain and loss of death when they are terminated after such a short time. It's horrible, I know. But, whatcha gonna do, eh? Ha ha! Whatcha gonna do!
AM2
AM3
Destroyer Capsules
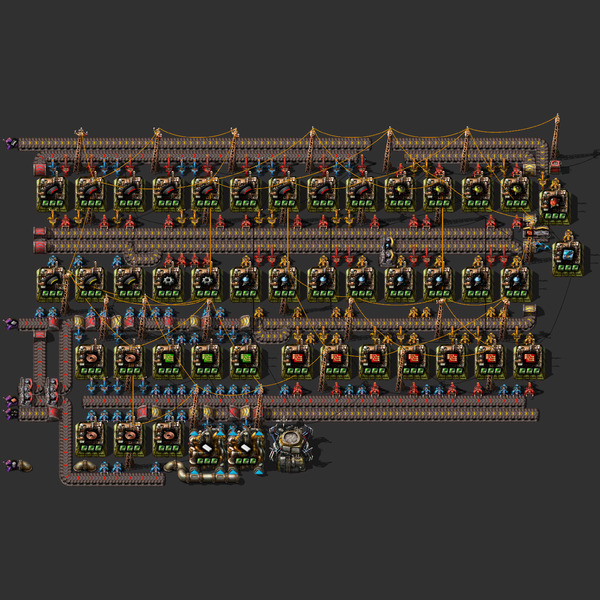
Destroyer capsules do not _have_ souls--they _take_ souls!
AM2
AM3
Modules
Module 1s
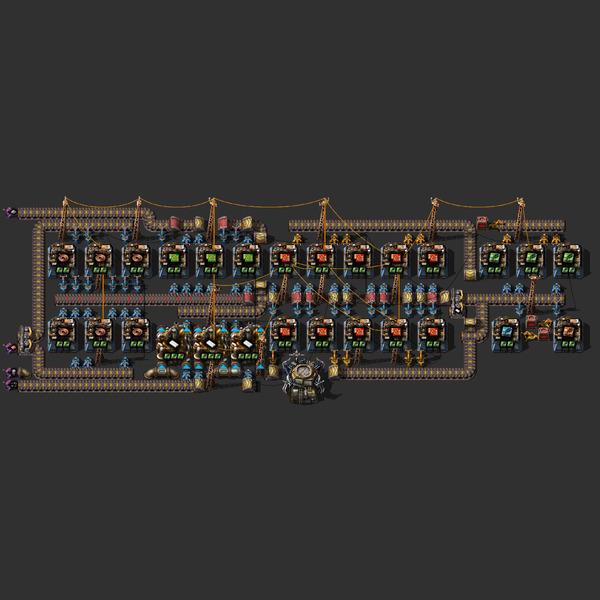
This creates modules 1s at a good pace. To match my other blueprints, it creates more efficiency modules than anything else. But it's easy to switch any of the assembling machines from any module type to any other type--they all have the same requirements.
AM2
AM3
Module 2s
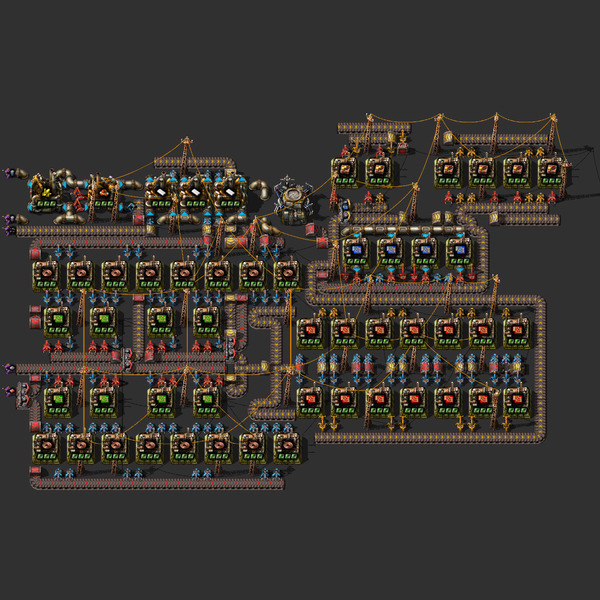
This will consume an entire red belt of copper when built with assembling machine 3s and it still doesn't produce all that fast. It's designed to be upgradeable to the Module 3s blueprint.
Speed AM2
Speed AM3
Efficiency AM2
Efficiency AM3
Productivity AM2
Productivity AM3
Module 3s
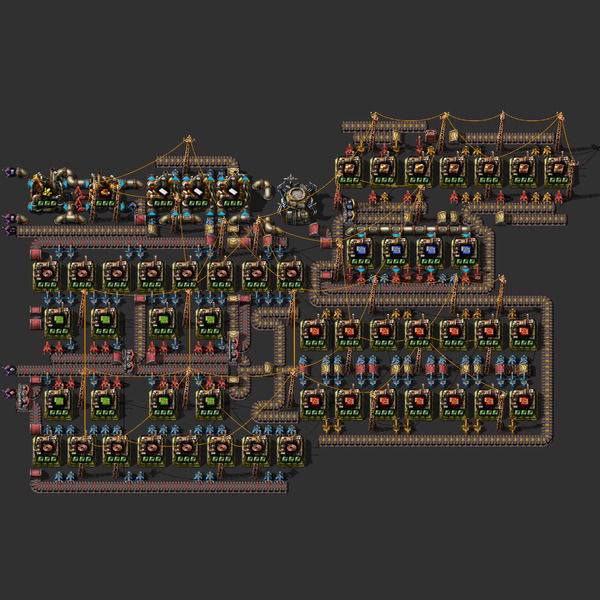
This will consume an entire red belt of copper when built with assembling machine 3s and it still doesn't produce all that fast. It's designed to be an in-place upgrade to the Module 2s blueprint (you might want to remove the box for the module 2s after upgrading).
Speed AM2
Speed AM3
Efficiency AM2
Efficiency AM3
Productivity AM2
Productivity AM3
Science
Automation Science
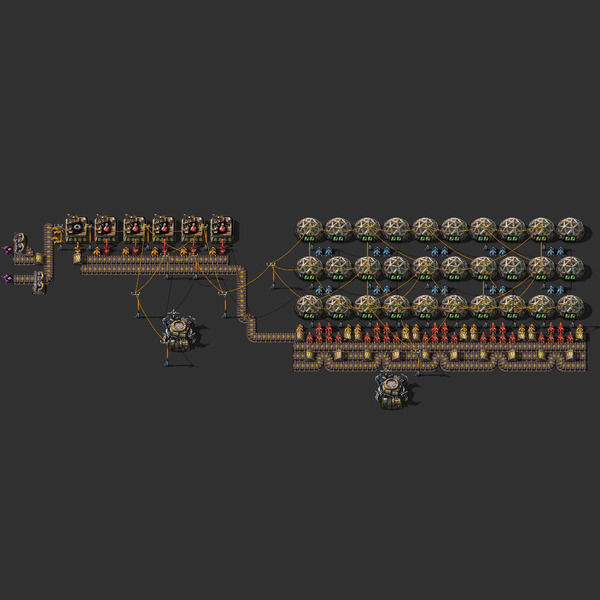
The first of the science blueprints. I designed these to be expandable, so each one builds on the last. They all produce science at the same rate.
AM1
AM2
AM3
Logistic Science
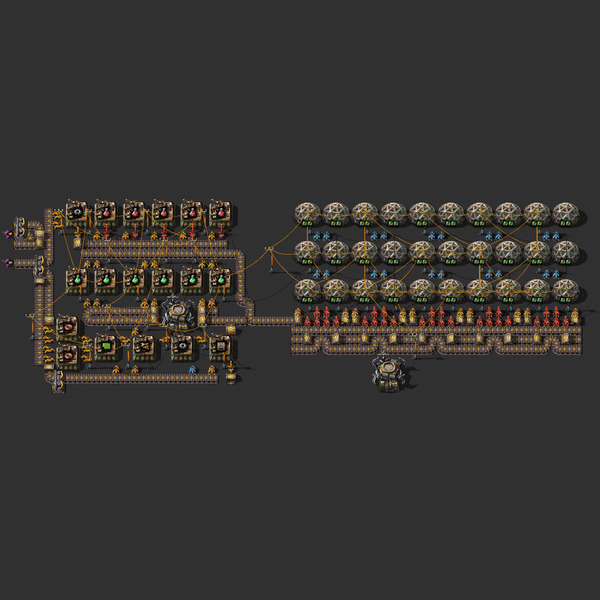
Science level 2 for you, boo! Okay, sorry. I crossed a line. You are not my boo. Rhyming is no excuse for calling you my boo.
AM1
AM2
AM3
Military Science
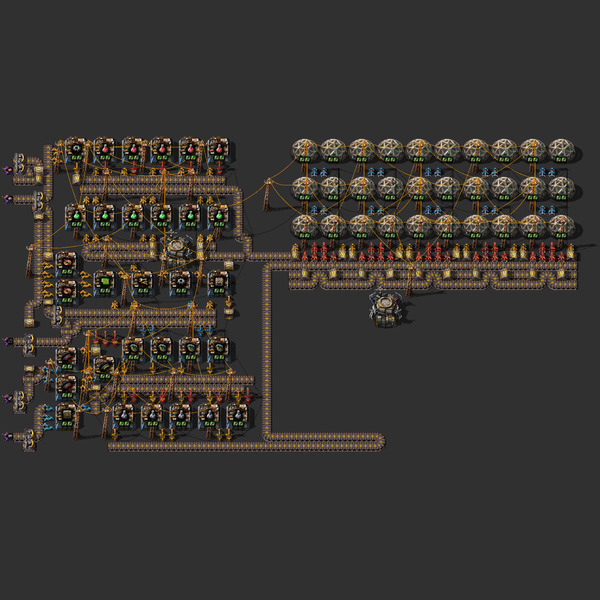
Science for the blowing up of things.
AM2
AM3
Chemical Science
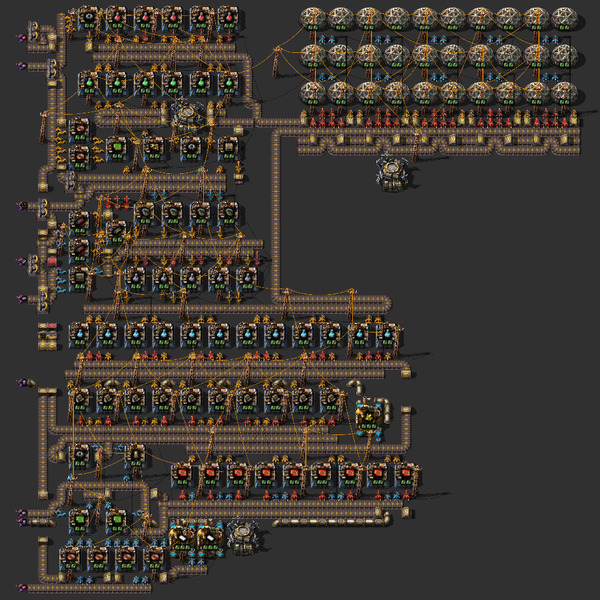
Chemical science ... what is that exactly? Like chemistry? Why not call it chemistry?
AM2
AM3
Production Science
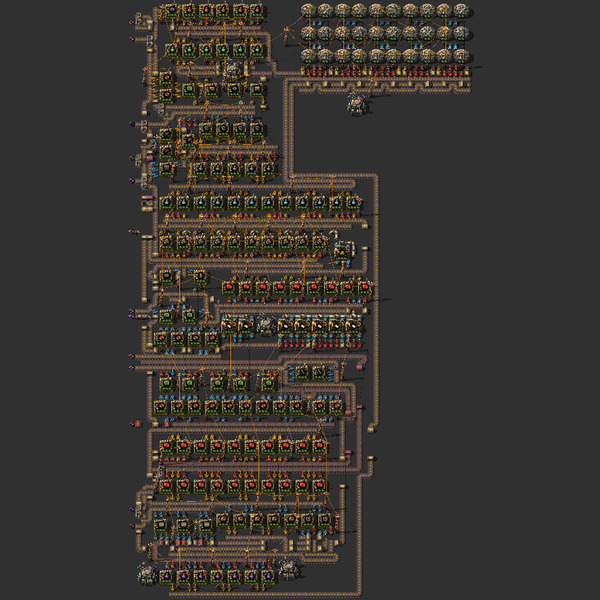
More science. I have nothing useful to say here.
AM2
AM3
Utility Science
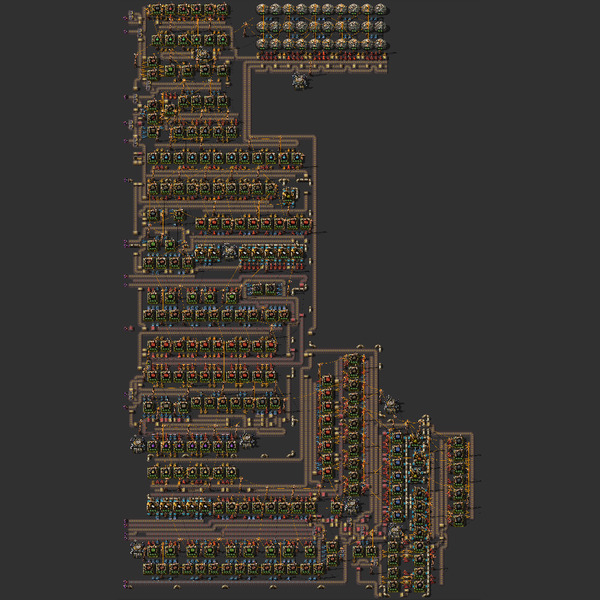
The final of the expandable blueprints!
AM2
AM3
Space Science
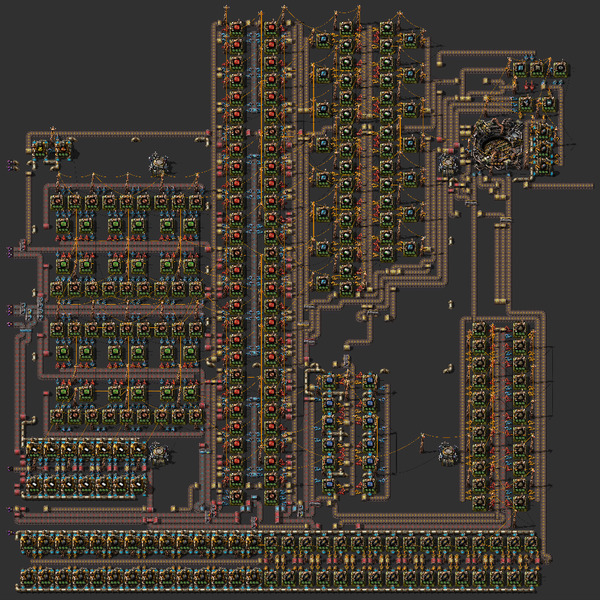
Who wants to simply launch a rocket, when you could instead get 1 space science per second (well, really 1.25 because it's using Assembling Machine 3s)? This blueprint has productivity modules in the silo, but will still get the 1 per second rate without them. In fact, I'm not even entirely sure what the output is when you have the productivity modules in ... probably still the same speed because accumulators are needed for the satellite and produce exactly fast enough. Truthfully, this isn't a great blueprint. It should really be using beacons or something. Maybe I'll post an updated one later.
Blueprint
Robot-Supplied Products
Modules
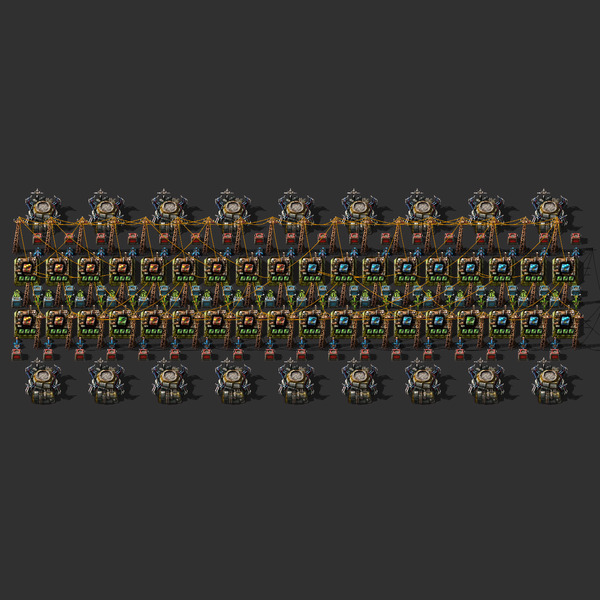
This will produce efficiency one modules for wherever you need them and productivity 3 modules and speed 3 modules for late game beaconed setups.
Blueprint
Robots
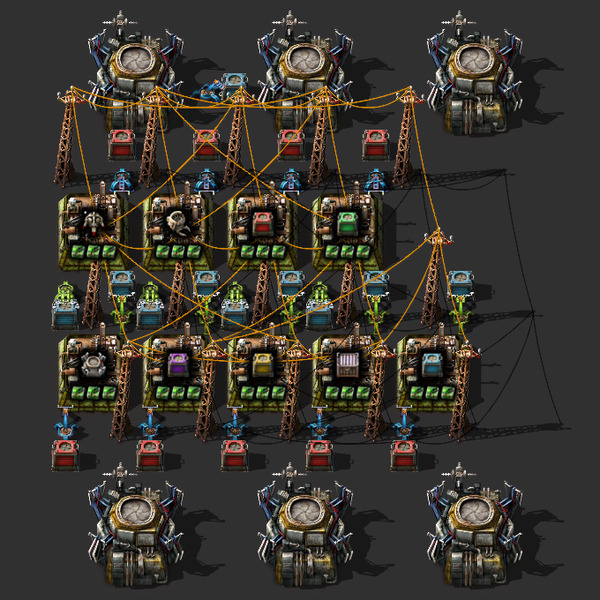
This can produce robots and robot-related products fairly quickly.
Blueprint
Belts
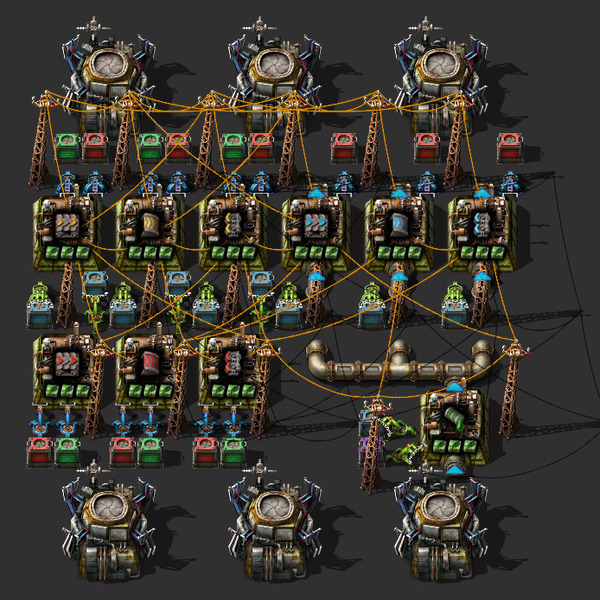
Produces yellow, red, and blue belts.
Blueprint
Solar, Accumulators, Substations
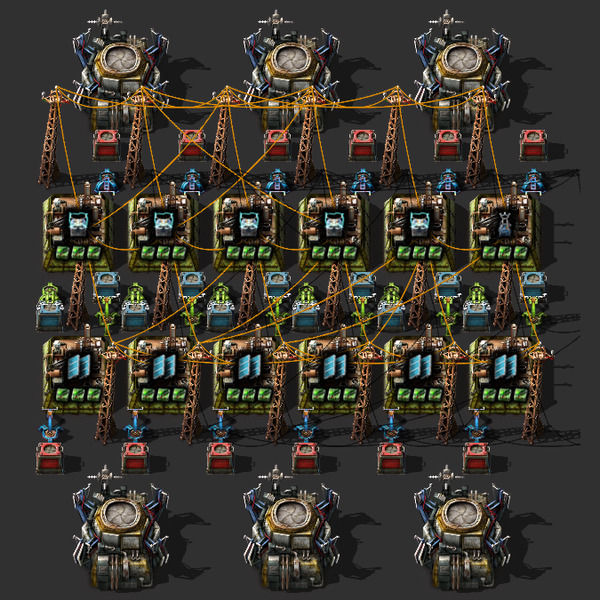
Creates solar panels and accumulators as well as substations.
Blueprint
Train Products
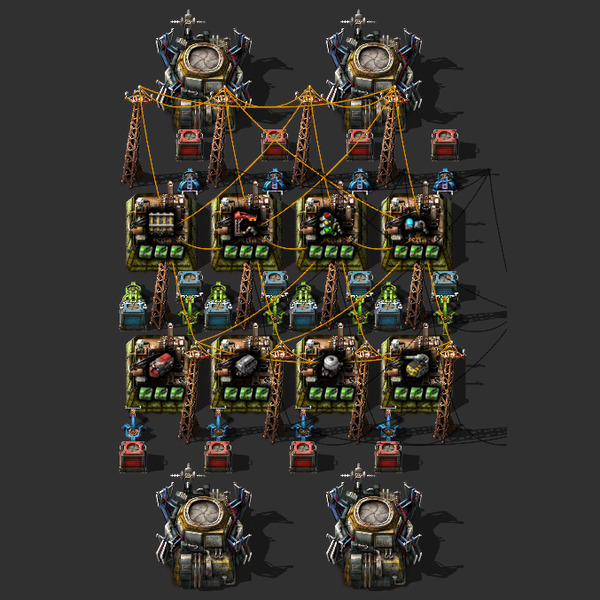
Let those robots make trains for you!
Blueprint
Circuit Products
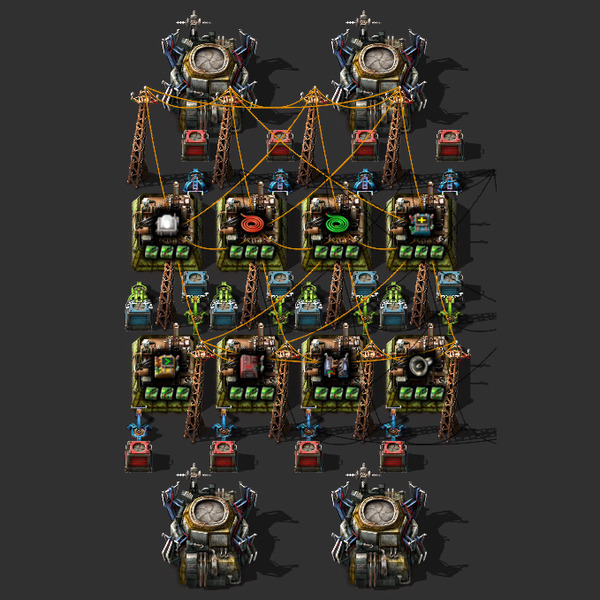
Circuits and such.
Blueprint
Logistic Products
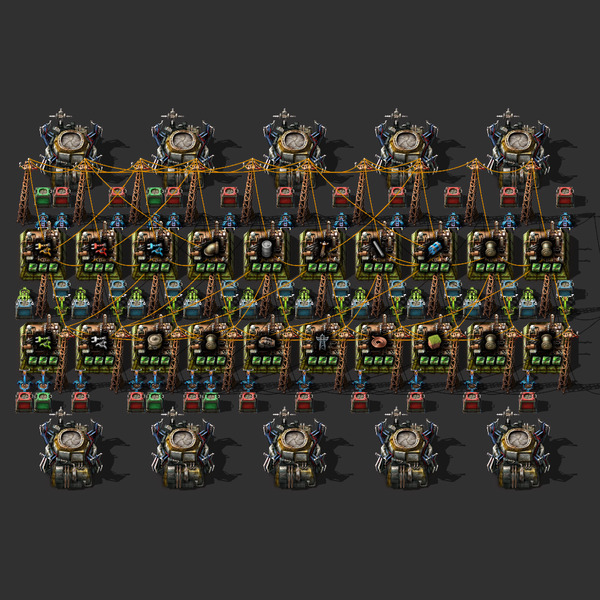
Makes a whole bunch of different logistics products.
Blueprint
Production Products
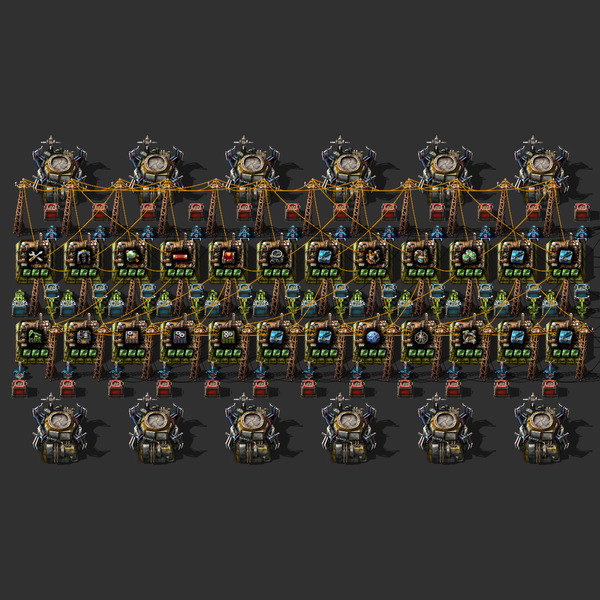
Makes a whole bunch of production products.
Blueprint
Late Game Defense Products
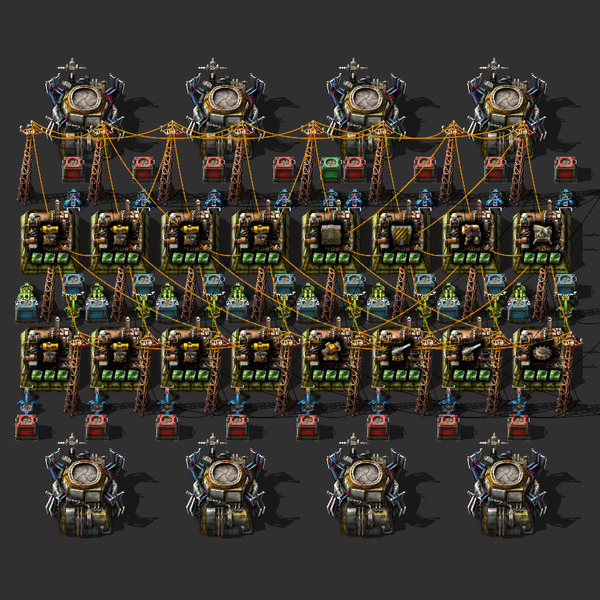
Plenty of laser turrets along with walls, gates, and artillery cannons. There are also flame turrets and regular turrets, though honestly laser turrets can do the job without them.
Blueprint
Capsules
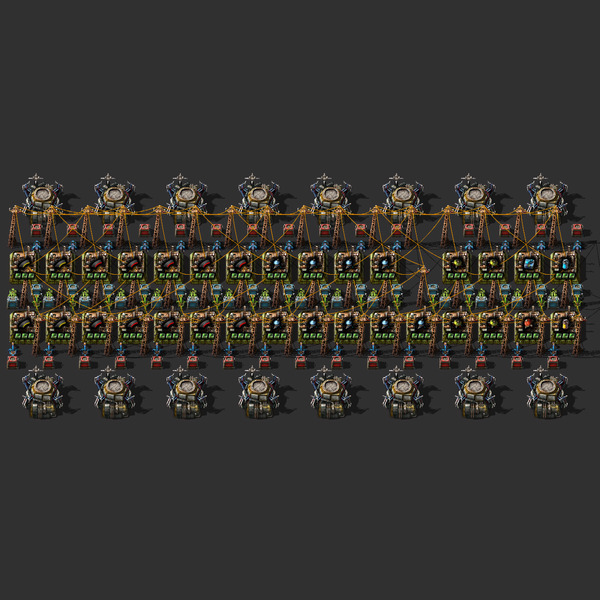
This makes destroyer capsules as well as poison and slowdown capsules.
Blueprint
Artillery shells
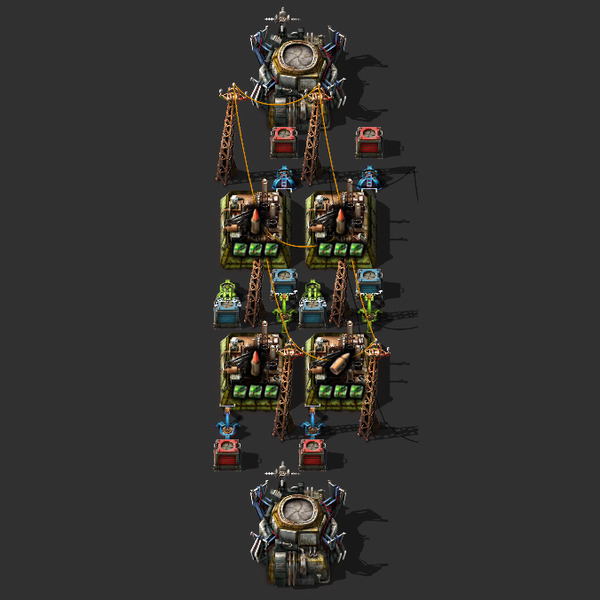
You guessed it: artillery shells.
Blueprint
Cluster grenades
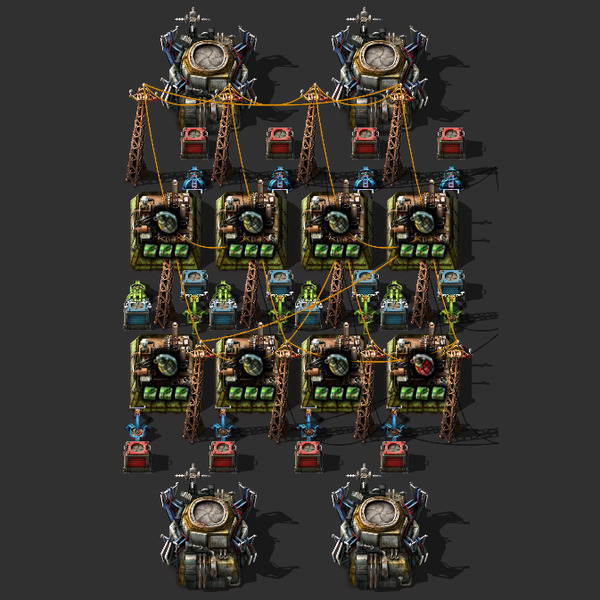
Boom boom boom.
Blueprint
Uranium Ammo
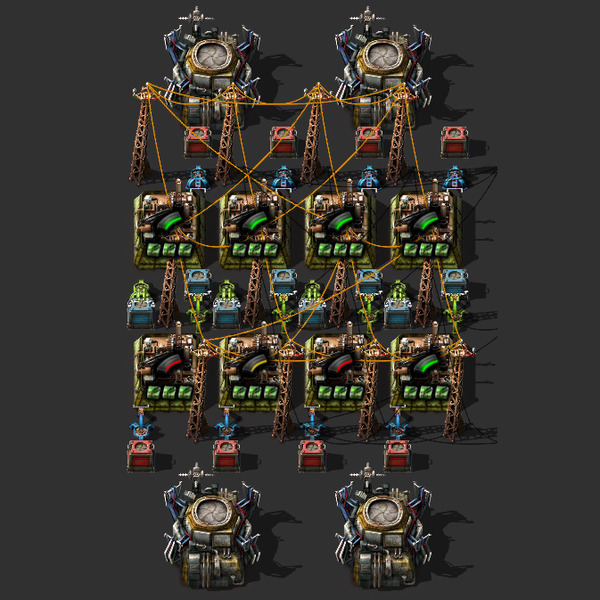
Produces uranium ammo at a pretty decent rate. This doesn't depend on any intermediates so you can build rather than my other uranium ammo blueprint if you want, even if you don't have intermediates being produced anywhere.
Blueprint
Nukes
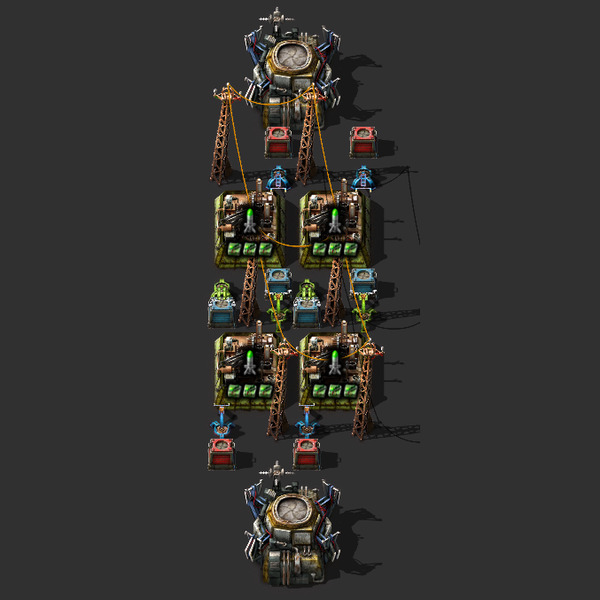
One then done.
Blueprint
Rockets
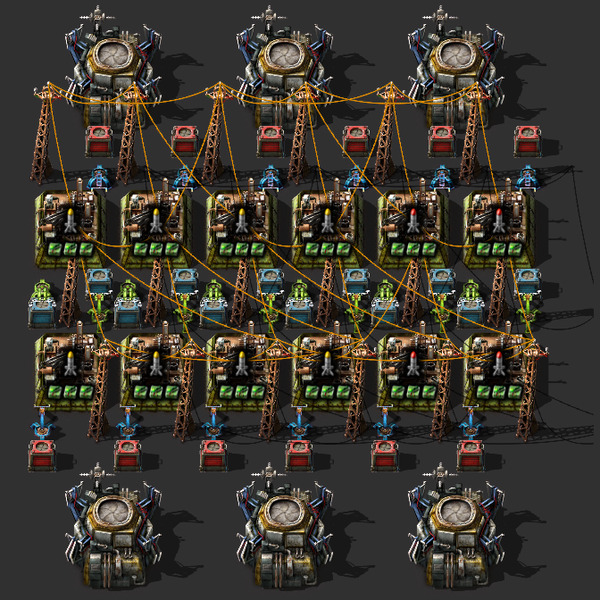
Keep those spidertrons fully legged--er, I mean, armed!
Blueprint
Cannon shells
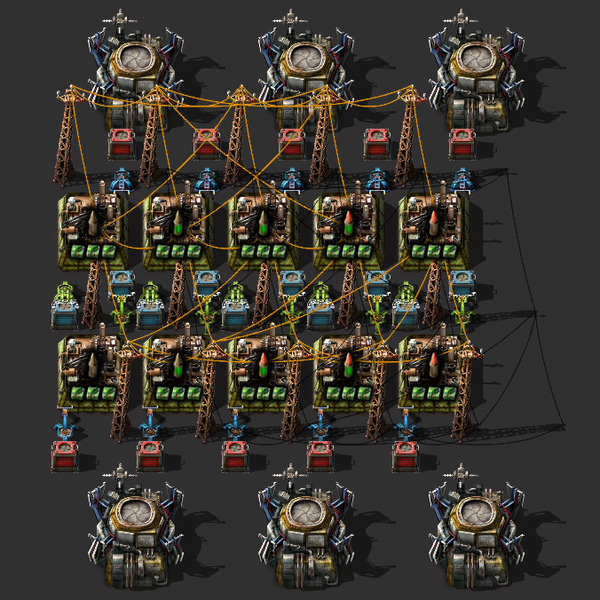
Tanks need ammo, too.
Blueprint
Flamethrower ammo
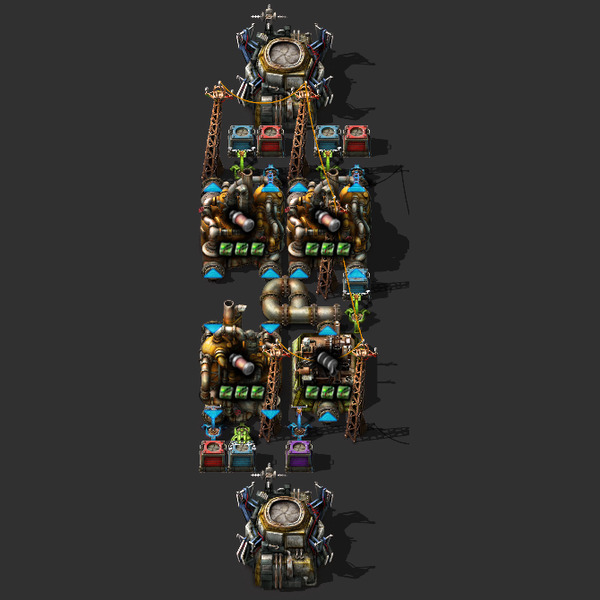
Flamethrower ammo.
Blueprint
Shotgun shells
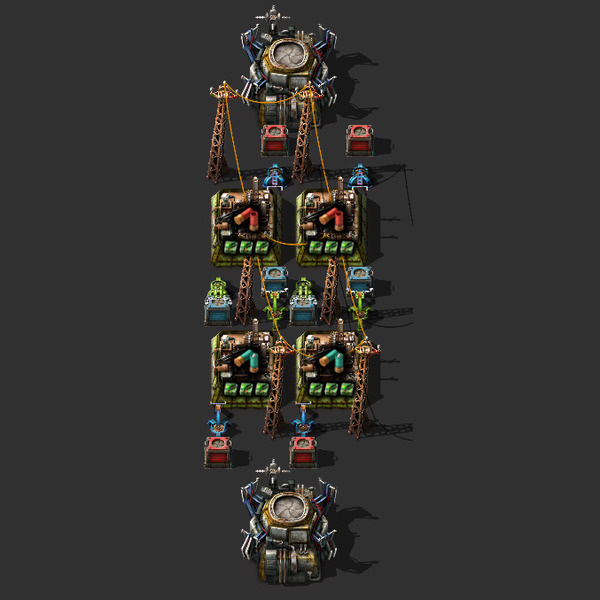
I'm not sure why you're using shotguns at this stage of the game (or ... ever), but if so ... this is for you!
Blueprint
Defense
Defensive Walls
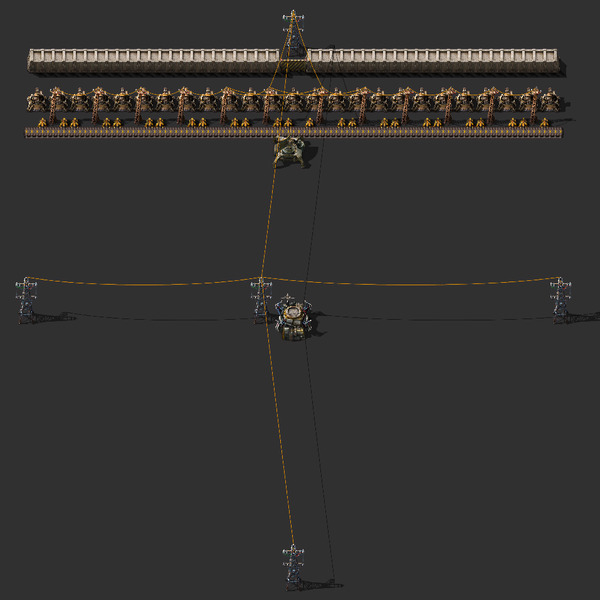
A whole bunch of defense blueprints. These fit with the robot extension and/or railroad segments. The double-rows of laser turrets should be good enough to handle just about any late-game threat.
Straight, Turrets, Right Belt Direction
Straight, Turrets, Left Belt Direction
Straight, Turrets & Lasers, Right Belt Direction
Straight, Turrets & Lasers, Left Belt Direction
Straight, 1 Laser Row
Straight, 2 Laser Rows
Corner, Turrets, Right Belt Direction
Corner, Turrets, Left Belt Direction
Corner, Turrets & Lasers, Right Belt Direction
Corner, Turrets & Lasers, Left Belt Direction
Corner, 1 Laser Row
Corner, 2 Laser Rows
Edge, Turrets, Right Belt Direction
Edge, Turrets, Left Belt Direction
Edge, Turrets & Lasers, Right Belt Direction
Edge, Turrets & Lasers, Left Belt Direction
Edge, 1 Laser Row
Edge, 2 Laser Rows
Inside Corner, Turrets, Right Belt Direction
Inside Corner, Turrets, Left Belt Direction
Inside Corner, Turrets & Lasers, Right Belt Direction
Inside Corner, Turrets & Lasers, Left Belt Direction
Inside Corner, 1 Laser Row
Inside Corner, 2 Laser Rows
For Fun
Grabber!
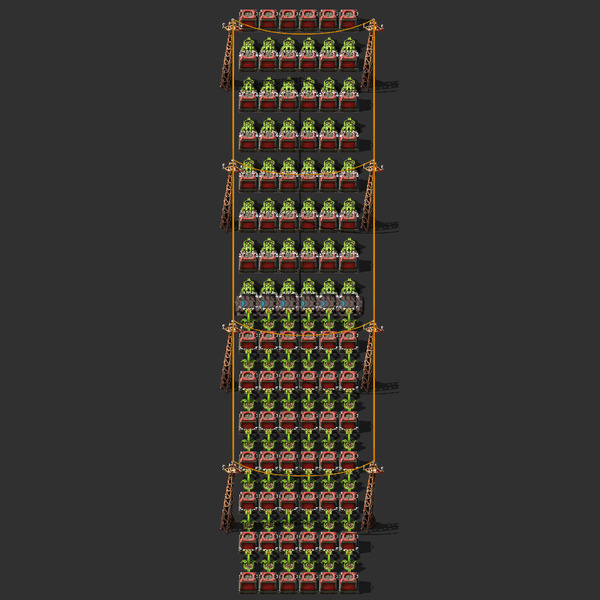
This is a useful blueprint to use in sandbox mode when you are testing out blueprints and need somewhere to shove all the stuff they are making.
Blueprint
Spitter!
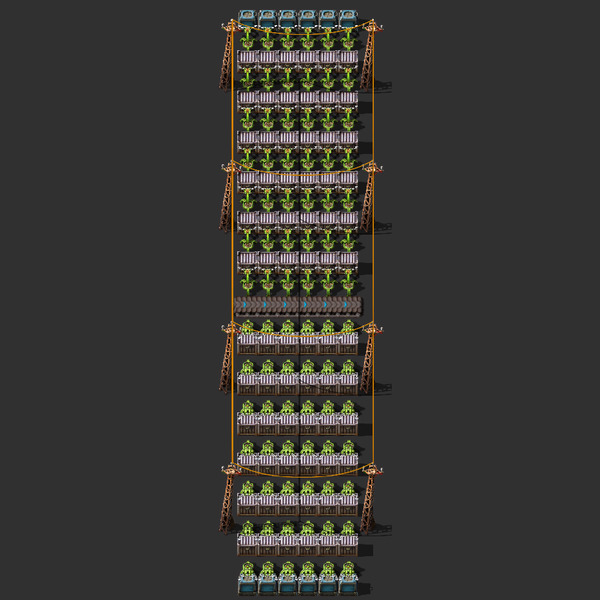
Kinda the opposite of the Grabber. You can set the requestor chests to ask for a bunch of one item and this will churn out that item onto a belt.
Blueprint
Eight Yellow Belt Splitter

Some said it couldn't be done. Others, the more sensible ones, said it could probably be done, but it really shouldn't. So, of course, I did it anyway. Here you go, internet--Enjoy!
Blueprint
Three Belts

Physics? Never heard of it.
Blueprint
The Nothinginator

Want to waste just plain stupid amounts of power while accomplishing absolutely nothing? Just plop a few of these down next to each other, fill the roboports with logistic robots and the boxes with copper plates, and watch the fun begin! This does actually have a practical use; I use it in sandbox mode to test output of a power setup, which is especially useful for nuclear reactors where it can be difficult to use up all that power easily.
Blueprint